
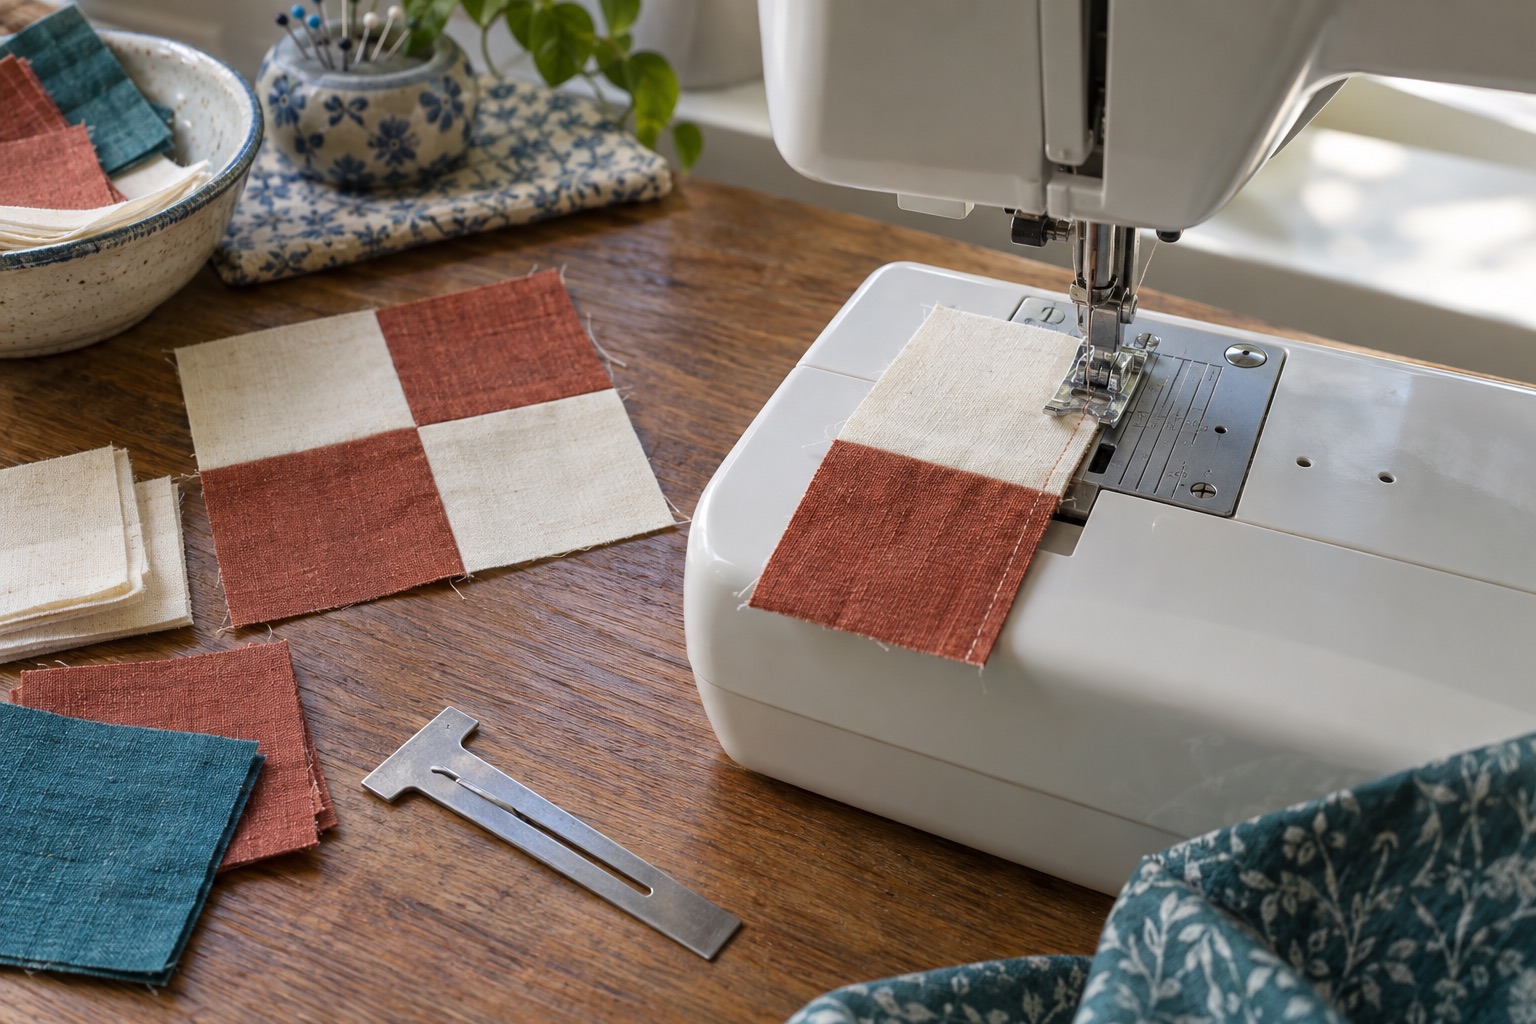
Good piecing is a chain of small repeatable decisions. If each seam is only a fraction too wide, a block assembled from many units can finish noticeably small. A foot labelled “¼ inch” is a useful guide, but it cannot know your thread thickness, fabric, pressing method or the exact seam allowance assumed by a pattern. Calibrate the finished unit before cutting dozens of pieces.
Set a clean baseline
Clean lint from the bobbin area as the manual directs and fit a fresh needle suitable for the quilting cotton and thread you are using. Thread with the presser foot raised if that is how your machine opens its tension discs. Select a straight stitch, centre needle position and a moderate stitch length as a starting point, then consult the manual for the machine's own recommendations. Use ordinary even sewing thread rather than a very thick decorative thread for small patchwork seams.
The Janome 230DC gives a speed slider and extension table in a general-purpose computerised machine. It is enough to begin accurate piecing when you use a measured guide and a consistent fabric test; decorative stitch count adds little here.
Janome 230DC
Best for a committed beginner who expects to make garments or quilts regularly and would use speed control, foot-pressure adjustment and the larger work surface.
A computerised machine with 30 stitches, three one-step buttonholes, a speed controller, top-loading bobbin, adjustable foot pressure and an included extension table.
Keep in mind
- It is a substantial step up in cost from an entry mechanical model.
- Thirty stitches are useful only if the core controls and included table match the projects you will actually make.
Calibrate the seam allowance the pattern expects
Cut two accurately measured cotton strips. Sew them using the quarter-inch guide or foot you plan to use for the project. Press according to the pattern—usually to one side or open—and measure the combined width. Subtract the expected seam take-up. If the unit is too small, the effective seam is too wide; adjust the guide or safe needle position slightly and retest. If it is too large, move the other way.
Many quilters use a “scant quarter inch” to compensate for fabric folding over the seam and thread thickness, but that phrase is not a universal machine setting. The finished measurement is the authority. Test a stack of several seams if the pattern has repeated small units; errors accumulate in that situation. Keep the same fabric and pressing method during calibration.
The Janome 5060QDC includes a quarter-inch seam foot in its UK package as well as a speed slider and extension table. The foot can make alignment easier, but the test-strip check still applies.
Janome 5060QDC
Best for a home quilter who wants the useful feet and table in the standard UK package while retaining a versatile dressmaking machine.
A 60-stitch computerised machine supplied with an extension table, quarter-inch foot, open-toe even-feed foot and free-motion foot.
Keep in mind
- The extension table supports fabric but does not enlarge the opening to the right of the needle.
- Large quilts still demand a supported table and careful handling of the bulk.
Let the feed dogs do their job
Place the cut edge against your chosen guide and steer lightly ahead of the foot. Do not stretch bias edges or pull fabric behind the needle. For tiny pieces, use a leader scrap if the machine tends to pull the first corner into the needle plate. Keep the work supported level with the bed so its own weight does not steer the seam.
An even-feed or walking foot may help on unusual layers or long strips, but it is not automatically better for ordinary two-layer cotton piecing. A quarter-inch foot with a clear edge reference can give a simpler view of the seam. If fabric slips, check cutting accuracy, pin or clip placement and pressure before changing equipment.
When blocks still finish the wrong size
If every unit is too small, confirm the seam width and whether you are pressing in the same direction as the pattern. If only some units drift, check whether the guide stays aligned on triangles, bias edges or thick intersections. If points disappear, inspect the cutting line and how much fabric is consumed by several intersecting seams. For a wavy strip set, check that you are not stretching one edge or pressing the strip out of shape.
Change one variable at a time. Recutting fabric because a block is off by a millimetre is less useful than discovering whether the difference arose in cutting, stitching or pressing. Keep a small sample unit beside the machine as a visual and measurement reference.
Make the setting easy to repeat next week
Record the needle, thread, foot, stitch length, needle position and guide position with a pressed test-strip measurement. Keep it with the pattern. When you return to the quilt, repeat one test before chain piecing; a new fabric, needle or thread can alter the result. Reserve a clean tray for cut units and label stacks so accurately sewn seams are not undone by mixing pieces from different blocks.
When the top is complete, the setup changes: batting and backing introduce bulk and feeding problems. Read walking foot vs dual feed and how to quilt a large quilt on a domestic machine before starting the sandwich.
Frequently asked questions
Do I need a quarter-inch foot to piece a quilt?
No. You need a repeatable seam allowance. A compatible quarter-inch foot makes it easier to maintain, but a measured seam guide can also work.
Why are my blocks small despite using a quarter-inch foot?
The effective seam may be a little wide after the fabric folds over the stitching, or cutting and pressing may add error. Measure a pressed test unit to find where the difference arises.
Should I backstitch every patchwork seam?
Follow the pattern's assembly method. Seams enclosed by later seams are often secured during construction; backstitching every short seam can add bulk or distort small points.
Sources
Machine controls and included feet are from Janome 230DC and Janome 5060QDC. Foot and fabric-guidance context is from Brother's quilting guide.