
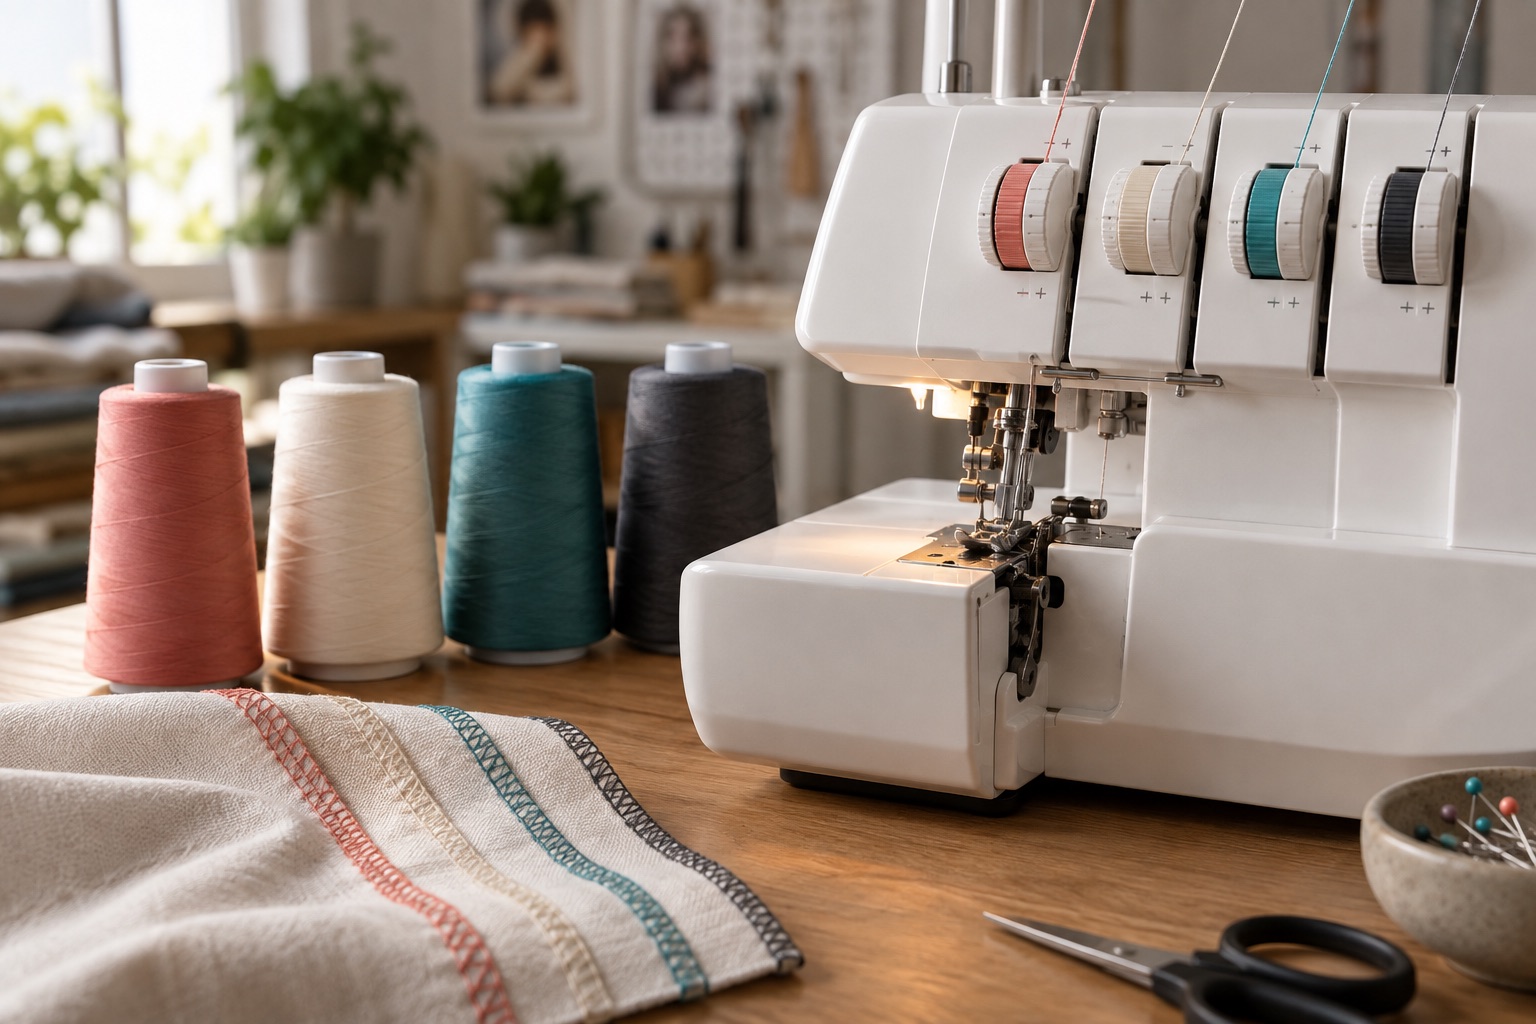
Tension describes how freely each thread feeds into an overlock stitch. A balanced seam is not one where all dial numbers match. Each thread has a different job, and fabric weight, thread type, stitch width and the needle configuration change the result. Model manuals supply starting settings, not a universal number that can be copied from a photograph.
Restore a trustworthy baseline first
Switch off for threading and needle checks. Confirm that the specified needles are fully seated and not bent, the cone stand is extended, and no thread is caught on a spool notch or guide. Rethread completely in the machine's required order. On many machines a raised presser foot opens the tension discs while threading, but follow your manual's exact instruction. A thread sitting beside a disc can look like a tension fault even if the dial is correct.
Select the precise three- or four-thread stitch in the manual. Set stitch length, cutting width, differential feed and all tensions to its baseline. Use contrasting thread colours that match the colour-coded machine paths and sew on a double layer of the project fabric. Evaluate the stitch on cloth; a free chain alone is not enough.
What each thread tells you
- Upper looper: normally wraps over the top edge. If its colour is pulled markedly onto the underside, it may be feeding too freely relative to the lower looper—or the lower looper may be too tight. Confirm width and threading first.
- Lower looper: normally wraps under the edge. If its colour climbs far over the top, compare its tension with the upper looper after verifying its guides.
- Needle thread or threads: should hold the layers together. Loose lines or tiny loops at the needle side may mean the relevant needle path was missed or its tension is too low. Very tight needle lines can pucker or tunnel the seam.
These are comparative clues, not commands to turn a particular dial blindly. The apparent imbalance can also come from thread lying outside the cutting line. Adjust cutting width according to the manual if there is too much or too little fabric inside the looper wrap.
A controlled one-variable test
Mark the starting settings on a card. Move only the suspected control by a small increment, sew another identical strip and keep the two samples side by side. If it improves, repeat cautiously; if it worsens, return to baseline and try the opposing thread or width. Avoid making three changes and then declaring victory, because you will not know which one mattered. Record settings for each fabric and stitch combination rather than expecting one permanent dial arrangement.
If one looper keeps snapping or no chain forms, return to threading diagnosis before adjusting further. A sudden change after a previously good seam is often a thread path, needle or lint issue rather than a fabric-specific tension preference.
When tension is not the cause
A wavy knit seam often points to fabric being stretched as it feeds; start with differential feed, foot pressure if the manual permits, and hand position. A ragged cut edge points to the knife or width. Skipped stitches point to needle condition, type, insertion or timing. If the handwheel resists, metal strikes or a correctly rethreaded machine repeatedly fails on stable cotton, stop and seek authorised service rather than adjusting internal timing or knife alignment yourself.
Frequently asked questions
Should all four tension dials be set to four?
Only if your model's stitch chart gives that as a starting point for the chosen stitch. Equal numbers are not the definition of a balanced seam.
Why does the stitch look fine as a chain but poor on fabric?
Fabric adds thickness, stretch and a cut edge for the loopers to wrap. Judge the stitch on a representative double-layer sample.
Can I correct a wavy edge with tighter looper tension?
Usually not as a first step. The fabric may be stretching through the feed; use the wavy-seam guide before distorting an otherwise balanced stitch.
Sources
The setup and stitch-chart method follows the official Janome overlocker guide, Janome 9300DX controls and Brother 2104D manual library.