
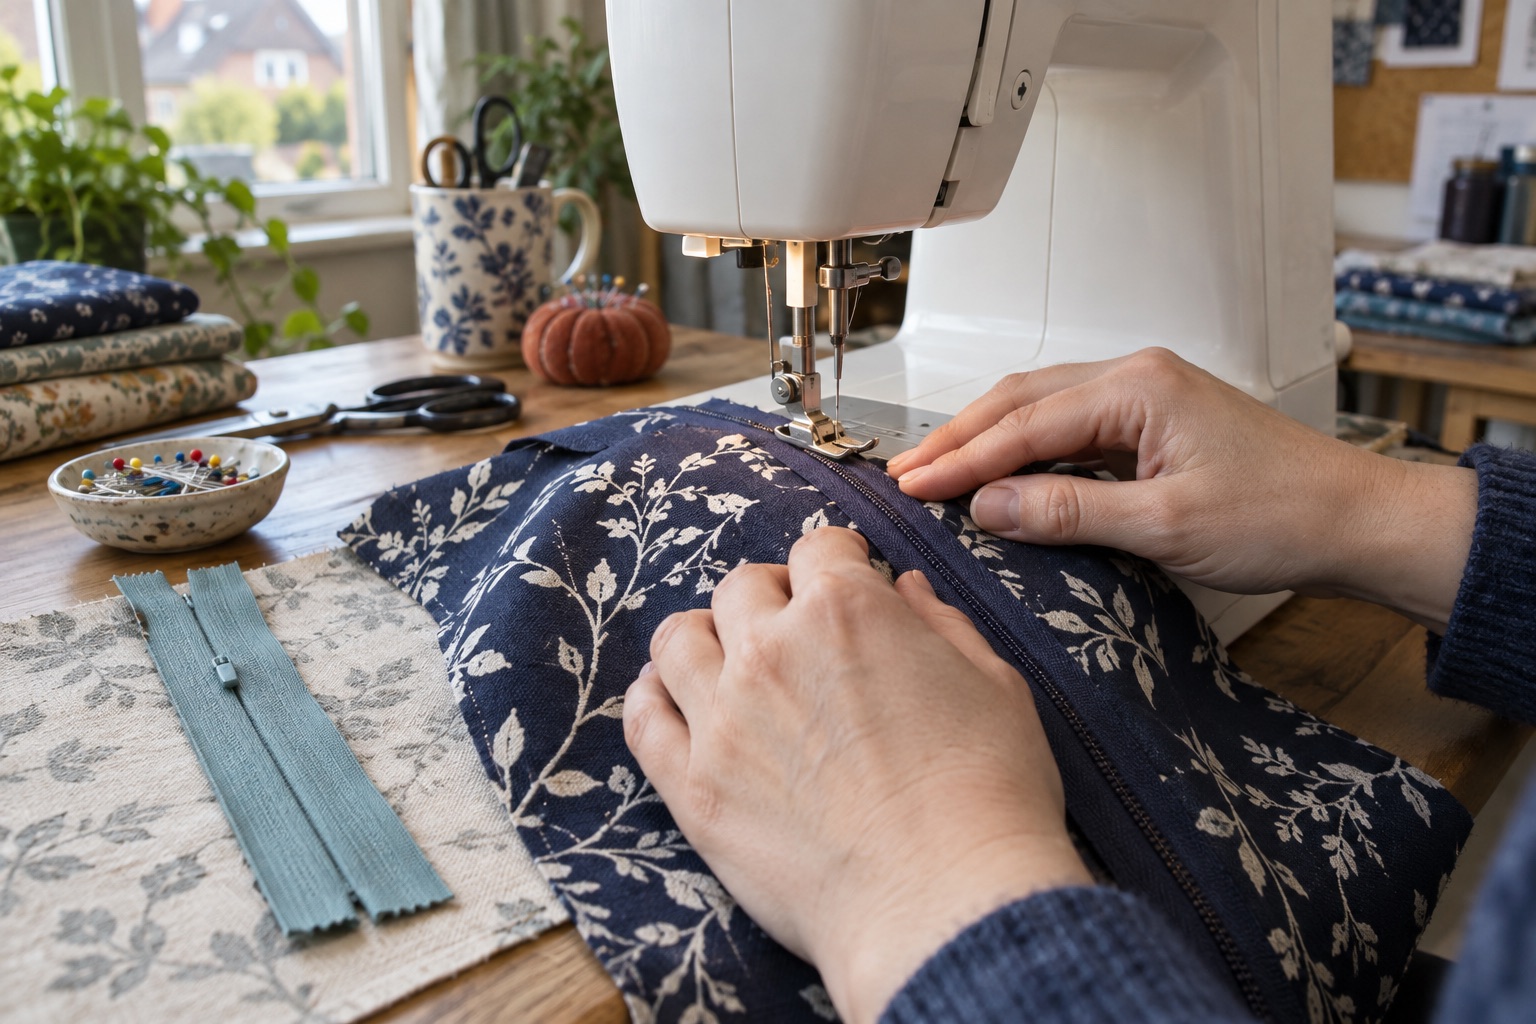
A zipper foot moves the support of the fabric to one side of the needle so a straight stitch can run close to zip teeth or piping. The best foot is not necessarily the slimmest. It is the one that holds your particular fabric flat while providing enough clearance for the chosen needle position. Most full-size machines include a basic zipper foot; check the accessory tray and manual before ordering anything.
Standard, narrow and concealed are different tools
A standard zipper foot commonly attaches to the left or right of the holder, or works with an approved needle-position adjustment. It supports the fabric beside a regular zip and is usually adequate for skirts, cushions and straightforward repairs. A narrow zipper foot leaves less metal beside the needle. That helps when the zip teeth, thick tape or a piping cord crowd the seam, but its smaller bearing surface can make very soft fabric less stable. Brother identifies its F079 as a narrow zipper foot; that code is a Brother-specific example, not a universal-fit prescription.
A concealed-zip foot is different underneath: grooves roll or hold the zip coils away so the needle can sew close to their base. Brother's F080 tutorial describes this process. A regular zipper foot can sometimes insert an invisible zip, but it requires careful coil control and usually leaves a more visible gap. Neither foot determines the stitch by itself: use the maker's approved straight stitch and position. A blind-hem foot, edge guide or quarter-inch foot does not substitute for tooth clearance.
Set up an ordinary zip without a needle strike
Prepare and press the seam allowance first. Mark the zip opening and baste or tape the zip in place according to the garment instructions; keeping the teeth aligned is easier before the machine is moving. Switch off while attaching the correct foot. With the zip under the foot, select the side and needle position that let the stitch fall beside—not into—the teeth. Lower the foot and turn the handwheel by hand for a full needle cycle. If the needle approaches the foot edge, stop and change the permitted setup before sewing.
Sew slowly along one side, keeping the tape flat without stretching it. When the slider obstructs the foot, stop with the needle safely down in the fabric, raise the foot and move the slider clear as your manual permits. Lower the foot again before continuing. On the second side, sew in a consistent direction if the fabric tends to creep; compare the top and bottom stops before securing the seam. For piping, the same close-to-cord principle applies, but a dedicated piping foot may guide a large cord more evenly.
A concealed zip needs coil control
Open the zip and place one tape right sides together with the garment opening. Gently roll the coil away with a finger or the grooved foot, then sew alongside it without stitching through the teeth. Repeat for the other tape, keeping the top edges level. Close the zip and check whether the seam hides it before stitching the seam below. If one side twists or the teeth catch, unpick that section; pulling harder rarely fixes misalignment. Practise on a scrap of the same fabric with the same interfacing before inserting a zip into a finished garment.
The photograph above illustrates the task, not a verified foot geometry. For exact positions, use Brother's narrow-foot tutorial or concealed-foot tutorial only if your machine and accessory match those examples.
The UK buying check
Write down the full machine model, the accessory code from its manual or the maker's compatibility page, and whether the existing holder stays attached. Confirm the foot's maximum stitch-width family and mounting arrangement; “fits Brother, Janome and Singer” in a marketplace title is not enough. The Brother F079 and F080 are distinct genuine-foot examples, but an exact live Amazon UK match with a dependable current offer was not available for this guide, so we have not inserted an ambiguous shopping card. If the included standard foot makes a clean zip, there is no reason to buy another.
Frequently asked questions
Can I sew a zip with an ordinary all-purpose foot?
For a coarse exposed zip you may be able to stitch farther from the teeth, but an included zipper foot is usually easier and gives a neater, closer seam. Never shift the needle beyond the foot's opening.
Does an invisible zip require a concealed-zip foot?
It is the purpose-built guide and the easiest route to a close seam, but an experienced sewist can work carefully with a compatible standard foot. Test the resulting closure on a sample.
Why did my needle hit the zipper foot?
The selected side, needle position or stitch width is probably incompatible with that foot, or it was not seated. Power off, replace a damaged needle and handwheel-check after correcting the setup.
Sources
Brother's narrow zipper foot guide and concealed zipper foot guide explain the distinct foot shapes and stitch placement. Janome UK's sewing how-to library includes zip demonstrations. Your exact machine manual controls safe needle position and attachment.