
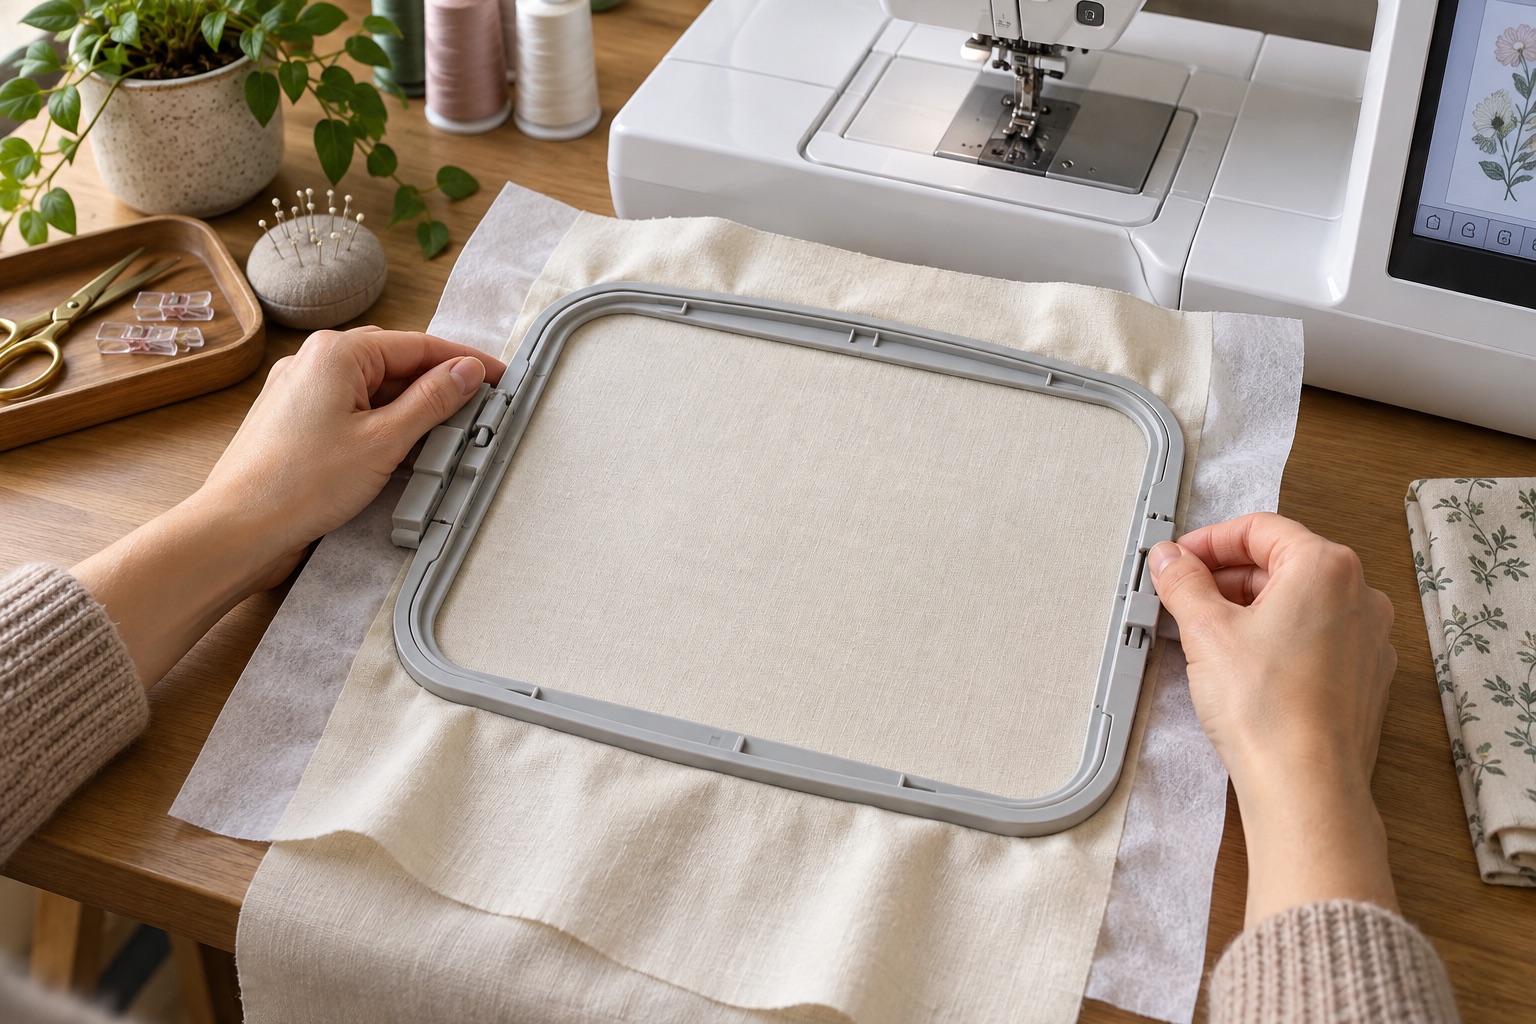
A machine hoop has two jobs: hold the fabric flat and hold it in a repeatable position as the carriage moves. Pulling the cloth tight can make it appear smooth for the first stitch, then pucker when released. Too little grip lets it shift and misalign colours. Backing is part of the hooping system, not an optional extra for every fabric. Start with stabiliser choice and a hoop the machine actually supports.
Prepare the design, fabric and frame
Confirm that the stitch file fits the machine's embroidery field, not merely the hoop's outer dimensions. Press the fabric if appropriate, but let it cool and dry before hooping. Mark the intended centre with a removable method tested on a hidden area. Cut stabiliser larger than the frame so it can be gripped fully. Inspect the hoop for grit, burrs or a loose screw; a damaged frame can mark cloth or lose tension. Keep the machine off while attaching or changing the frame if the manual requires it.
A repeatable hooping method for stable woven cotton
- Loosen the outer frame just enough to accept the fabric-and-backing thickness. Place it on a stable table.
- Lay stabiliser over the outer frame, then the fabric right side up, aligning the marked centre with the frame's reference marks.
- Press the inner frame into place evenly. Avoid dragging one corner of the fabric as it seats.
- Tighten the screw gradually and smooth outside the frame only as the manual directs. The cloth inside should be taut and flat, not stretched out of grain.
- Turn the hoop over. Remove trapped folds, pins and loose thread tails from underneath. Check the stabiliser is gripped on every side.
- Recheck the centre and design orientation before attaching the hoop to the machine.
Some hoops and fabrics require a different order or a template. Use the supplied instructions. Never use a hoop not approved for the model; the moving carriage can strike an incompatible frame.
What changes for jersey, towels and small pieces?
Knits can distort when compressed into a hoop. Use the appropriate cut-away or other specified stabiliser, avoid stretching the garment and consider a maker-approved float method when the item cannot be hooped without distortion. Floating means hooping stabiliser, then securing the fabric on top with an appropriate temporary method; it does not mean leaving loose fabric in the needle path. Towels and pile may need a water-soluble topping to keep stitches visible, alongside proper backing. Small sleeves and finished garments require careful clearance so the free fabric does not slip underneath the hoop and get stitched closed.
An embroidery-thread set belongs at the end of this preparation, not as a remedy for slack cloth. Madeira Polyneon 40 is a general-purpose polyester top-thread option once the machine's thread and needle guidance have been checked; use the bobbin thread specified by the machine maker.
Madeira Polyneon 40 polyester embroidery thread set
A practical first colour range when laundering resistance matters and the machine manual permits standard 40-weight embroidery thread.
An 18-colour assortment of standard-weight Polyneon 40 polyester machine-embroidery thread in 400 m spools.
Keep in mind
- Not a bobbin-thread substitute; use the bobbin thread specified by the machine maker.
- Colour charts and screen previews are approximate; check the actual spool against fabric.
Before pressing start
Attach the hoop fully, lower the foot as instructed and use the machine's frame-trace or boundary-check function if available. Watch that the design does not approach clamps, thick seams or the hoop edge. Support the garment's free bulk away from the carriage without pulling the hooped area. Start with a small sample on the same fabric and backing. If the fabric shifts, re-hoop; do not tighten it by pulling on an already mounted frame. If the needle strikes the hoop or motion sounds wrong, stop immediately.
Frequently asked questions
Should fabric be drum-tight?
It should be smooth and secure but not stretched out of shape. Brother's embroidery guidance says the fabric should be taut rather than slack; its fault checklist also warns that over-stretched fabric or backing can cause trouble.
Can I hoop only the stabiliser?
Yes for some maker-approved floating methods, with the fabric secured appropriately. It is not a universal substitute for hooping fabric and backing together.
Why does the design move between colours?
Check hoop grip, stabiliser, loose garment bulk and whether the carriage is obstructed. Re-hoop if necessary rather than trying to compensate by moving the design on screen.
Sources
The core method follows Brother's embroidery basics and hooping guidance, Brother's frame-size and hooping guidance and its misalignment checklist. Check the exact model manual for its frame and carriage steps.