
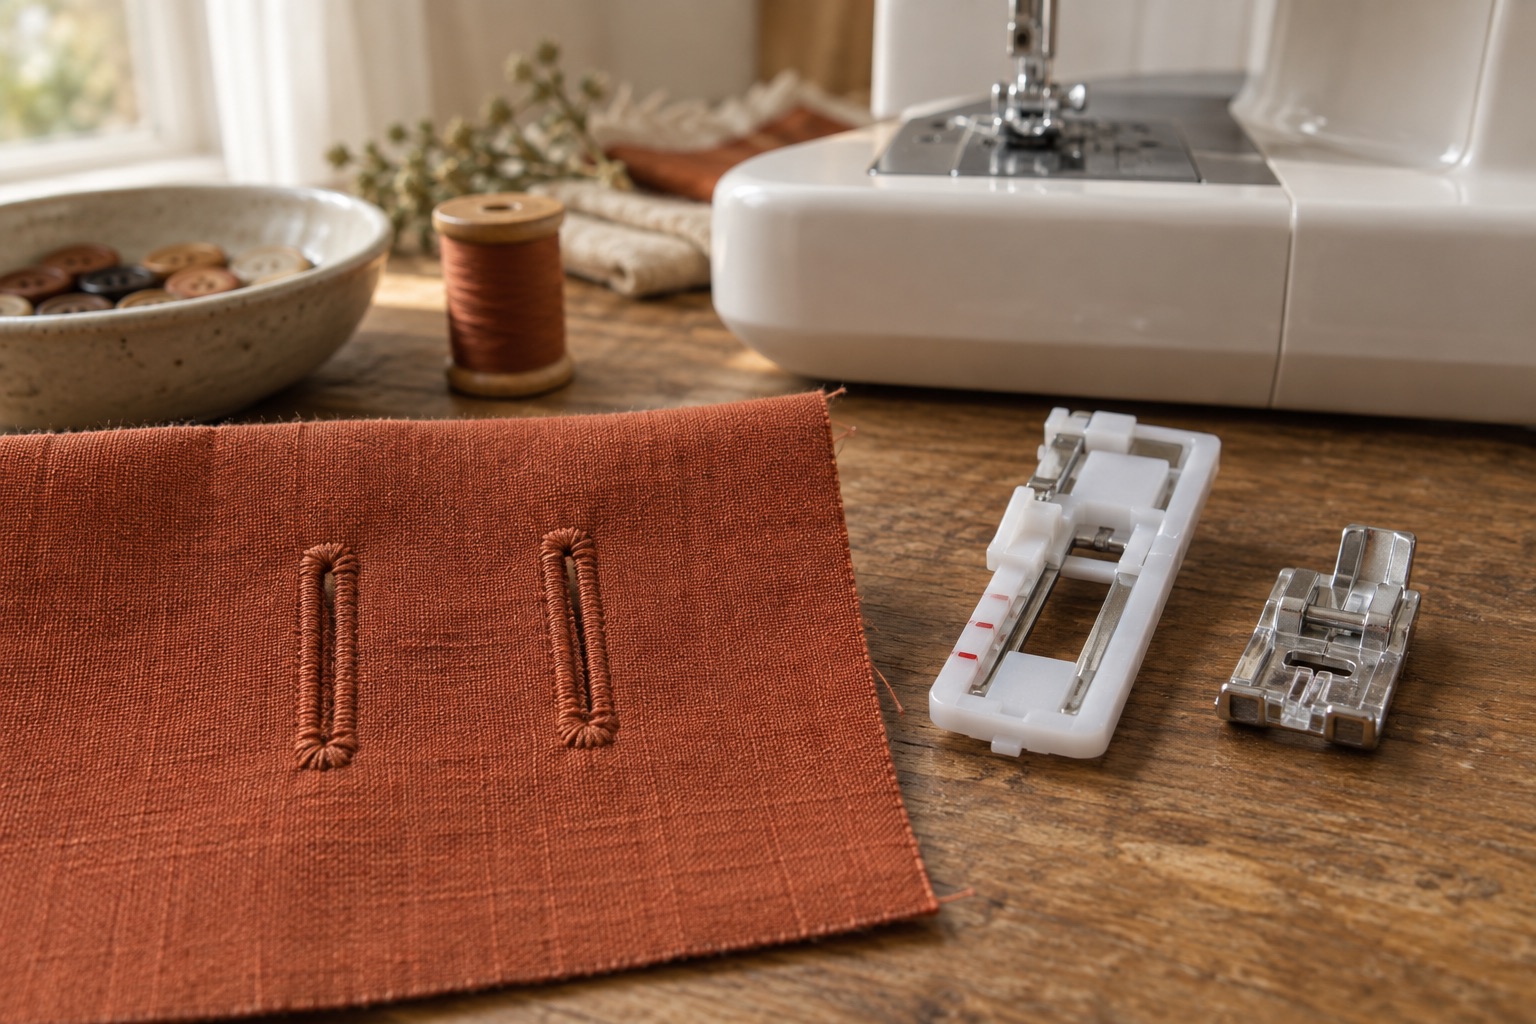
The difference sounds larger than it is. Both methods sew dense columns and bar tacks around a slit, and both need a correctly fitted foot and a stable fabric. The practical decision is whether you prefer the machine to repeat a measured size or to control each stage yourself.
What actually happens?
On many one-step machines, you place the button in the holder on the buttonhole foot, align the fabric mark, lower the buttonhole lever if the model uses one, and start the automatic cycle. Brother's one-step instructions show the button holder setting the length and the machine sewing reinforcement stitches before stopping. Details vary by model, so follow your manual rather than assuming every one-step foot is interchangeable.
With four-step buttonholes, you mark the length and switch the machine through each part of the buttonhole: one column, a bar tack, the other column and the final bar tack. Brother's four-step documentation notes that you can choose the desired length. The trade-off is more user input and care to keep both columns equal, especially across a row of shirt buttons.
Is one-step worth paying for?
If you make shirts, dresses or children's clothes with multiple matching buttons, one-step operation saves repeated measuring and mode changes. It is not a guarantee of a perfect hole on a seam edge or thick placket. A four-step system is perfectly serviceable for occasional repairs and a small number of buttonholes, and its manual length can be useful when the button does not fit a standard holder.
The Brother LX17 has a four-step buttonhole and a straightforward mechanical layout. It makes sense if occasional buttons are a minor part of an otherwise simple machine brief. Do not discard an otherwise suitable entry-level machine solely because the buttonhole is four-step.
Brother LX17
Best for a new sewist who values an uncomplicated dial layout and wants to learn on a full-size machine without paying for electronic controls.
A straightforward mechanical machine with a top-loading bobbin, 17 stitches and the core feet needed for everyday repairs, simple garments and home projects.
Keep in mind
- Its four-step buttonhole takes more input than a one-step system.
- There is no speed-limiting slider or automatic needle threader.
The Brother SH40 offers one-step buttonhole styles alongside electronic speed control. Those controls have value beyond buttonholes if you sew garments regularly. Its cost and more involved interface may not be justified for a rare button repair.
Brother SH40
Best for a beginner who wants slower, capped sewing speed and controls that can support dressmaking, light quilting and more varied projects as confidence grows.
A compact electronic machine that adds a speed slider, start/stop control, needle up/down, 40 stitches and five one-step buttonhole styles without moving into a large chassis.
Keep in mind
- The compact 10 × 16 cm workspace is not designed for managing large quilts.
- Its extra controls and numbered stitch selection are less immediate than two mechanical dials.
A buttonhole is a fabric-preparation test
Use the same layers and interfacing as the actual placket. Mark the centre and buttonhole positions carefully, keeping the grain and edge distance consistent. Interfacing prevents many light or loosely woven fabrics from collapsing under dense satin stitches. If the fabric stretches or feeds poorly, add a removable stabiliser and test how it comes away. Brother also describes levelling the buttonhole foot with folded material on thick fabric.
Use a quality, appropriate ordinary thread and a fresh compatible needle. The Gütermann Sew-All card below is an all-purpose polyester example; choose a colour that suits the garment rather than defaulting to its white Amazon listing. Sew several samples, open one carefully and check the actual button passes without stretching the fabric.
Gütermann Sew-All polyester thread, white
A reliable general-purpose thread family for mixed garment fabrics; choose the shade that blends with your project rather than buying white by default.
A 100 m spool of 100% polyester Sew-All thread for everyday construction seams, repairs and machine sewing.
Keep in mind
- The linked listing is white; match colour locally if needed.
- It is not the same as a deliberately heavy decorative topstitch thread.
Cut the slit only after stitching. Place a pin inside the end bar tack as a physical stop and cut away from your hand. A ripper can slip; Brother explicitly warns against putting fingers in its path. Small sharp scissors can give more control on delicate fabric. Do not cut through the satin columns.
When the sample is poor
If the columns are uneven, check that the correct foot is installed and its frame is positioned as the manual shows; then check fabric feeding and whether the foot is tilted by a seam. If stitches look loose on one side, rethread and examine the needle and bobbin before adjusting tension. If the hole is too small, measure button diameter plus thickness and test again; the button must pass through after the slit is opened. For a row of holes, save the successful sample and settings as a reference.
Frequently asked questions
Does one-step mean no measuring?
No. You still mark consistent positions and test the button in the finished slit. The foot usually sets repeatable length, not garment placement.
Can four-step buttonholes look professional?
Yes. Good interfacing, steady feeding and careful step changes can produce tidy, functional holes. Practise all four stages on the real material first.
Which method is better on thick fabric?
Neither automatically solves a foot that tilts or fabric that will not feed. Level and stabilise the test stack, then follow the machine-specific instructions.
Sources
Operation and safety use Brother's one-step buttonhole instructions, four-step buttonhole instructions, LX17 guidance and SH40 specification.