
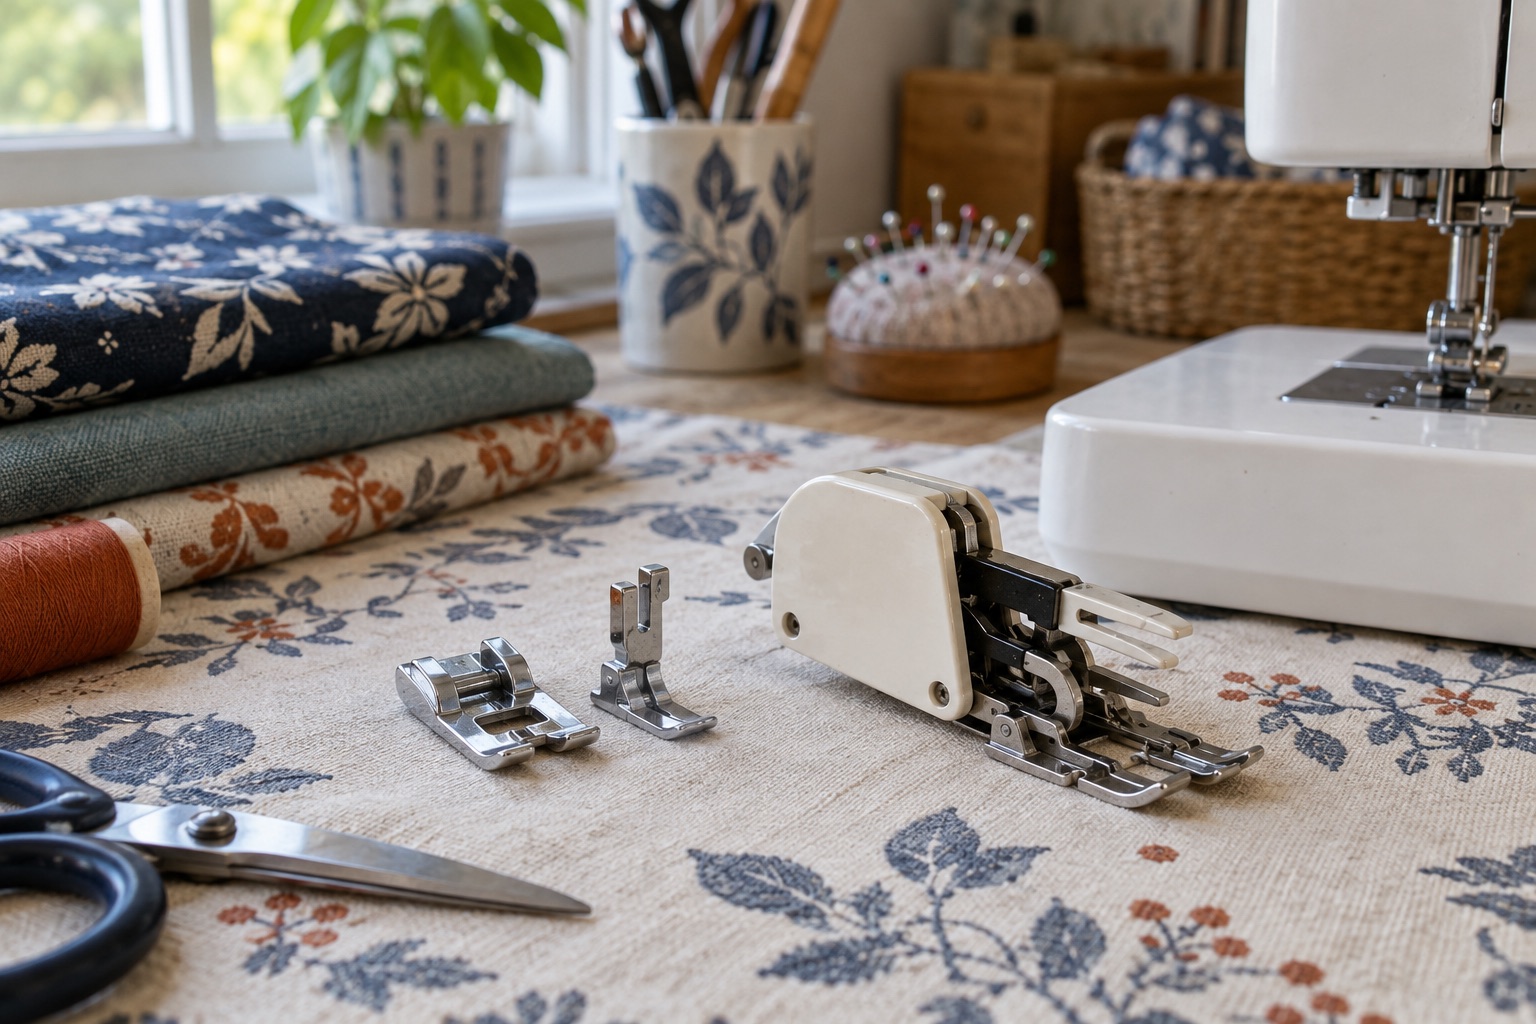
New sewists often see a small metal sole drop off when a release button is pressed, then wonder why a walking foot has a screw and an arm. Both are normal. Understanding the presser bar, holder and sole stops a lot of mistaken accessory purchases.
The three-part arrangement on many domestic machines
The presser bar moves up and down inside the machine. A removable holder—sometimes called an ankle—attaches to that bar with a screw. The everyday sole clips to a small horizontal pin beneath the holder. Pressing the release button detaches only that sole. A standard zipper, overcasting or blind-hem foot may arrive as a snap-on sole, depending on the machine family.
A walking, darning or special embroidery foot may instead be a larger complete assembly. You remove the holder and screw the accessory onto the bar. Its lever or spring may also need to sit beside the needle clamp in a model-specific way. Never assume that “screw-on” means universally compatible, or that a snap-on sole from another brand fits your clip. Shank height, bar geometry and needle swing still matter.
A safe change, one stage at a time
Stop with the needle raised as your manual directs, switch off and unplug if the maker calls for it. Raise the presser foot. For a snap-on sole, use the release lever or button, align the replacement pin with the holder's slot and lower the bar until it clicks securely. Lift the sole gently to confirm it is seated; do not push the needle assembly to make it attach.
For a screw-on foot, support the holder while loosening the presser-bar screw with the correct tool. Remove the holder without disturbing the needle clamp. Position the new foot exactly as its instructions show, including any top-feed arm or linkage, then tighten the mounting screw firmly but without stripping it. Lower the bar and rotate the handwheel through a full intended stitch cycle. The needle must clear every side of the foot opening and the mechanism must move without snagging. If you change needle position or stitch width later, repeat the clearance check.
If the foot drops, rocks or hits the needle, stop; do not hold it in place while sewing. A damaged needle should be replaced before retesting. Brother's dynamic walking-foot tutorial shows a concrete screw-on example, including model-dependent mounting details.
Examples without assuming every brand is identical
The all-purpose foot is commonly snap-on for quick changes. A narrow zipper or hemmer foot may also snap on to the same approved holder. A domestic walking foot often screws directly to the bar because its upper-feed mechanism needs a stable connection. Some maker-specific adapter systems depart from that pattern. The accessory's own instructions, not a broad list on a marketplace card, decide which assembly stays or goes.
The Brother-branded 7 mm walking foot below illustrates a specialist purchase where fitting matters. Its Amazon title does not specify an exact F-code or all compatible models. Confirm the precise Brother accessory part for your machine before ordering it; a visually similar screw-on foot is not enough evidence.
Brother 7 mm horizontal walking foot
Consider only after confirming the exact Brother accessory code and machine model in Brother's compatible-products list.
An upper-feed walking foot for suitable Brother 7 mm horizontal-hook machines; useful for layered quilting and keeping matched fabrics aligned.
Keep in mind
- The Amazon listing's generic title does not itself prove fit for every Brother 7 mm machine.
- Do not use reverse or side-to-side feeding stitches unless the exact foot instructions expressly permit them.
The four things to put beside any listing
Record your exact machine model, the maker's recommended accessory code, whether the holder remains attached and the permitted stitch width/position. Check the retailer item against all four. If one is missing, ask the seller or buy through a dealer who can confirm fit. If the foot already supplied produces the seam you need, skip the multipack: a set of twenty ambiguous soles creates more compatibility risk than value.
Frequently asked questions
Can my machine use both snap-on and screw-on feet?
Often yes. The snap-on holder itself is screwed to the presser bar and can be removed for a compatible specialist foot.
Should I remove the needle to change a foot?
Follow the exact manual. Switching off, raising the needle and protecting fingers are essential; some bulky attachments are easier to fit with additional steps the maker specifies.
Is a foot safe if it clicks onto the holder?
Not automatically. Check the needle's full travel for the chosen stitch and verify that the guide or sole does not collide with the plate.
Sources
Brother's basic setup guide covers ordinary foot changes, while its dynamic walking-foot tutorial documents specialist mounting differences. The exact machine manual remains the authority for its holder and safe stitch settings.