
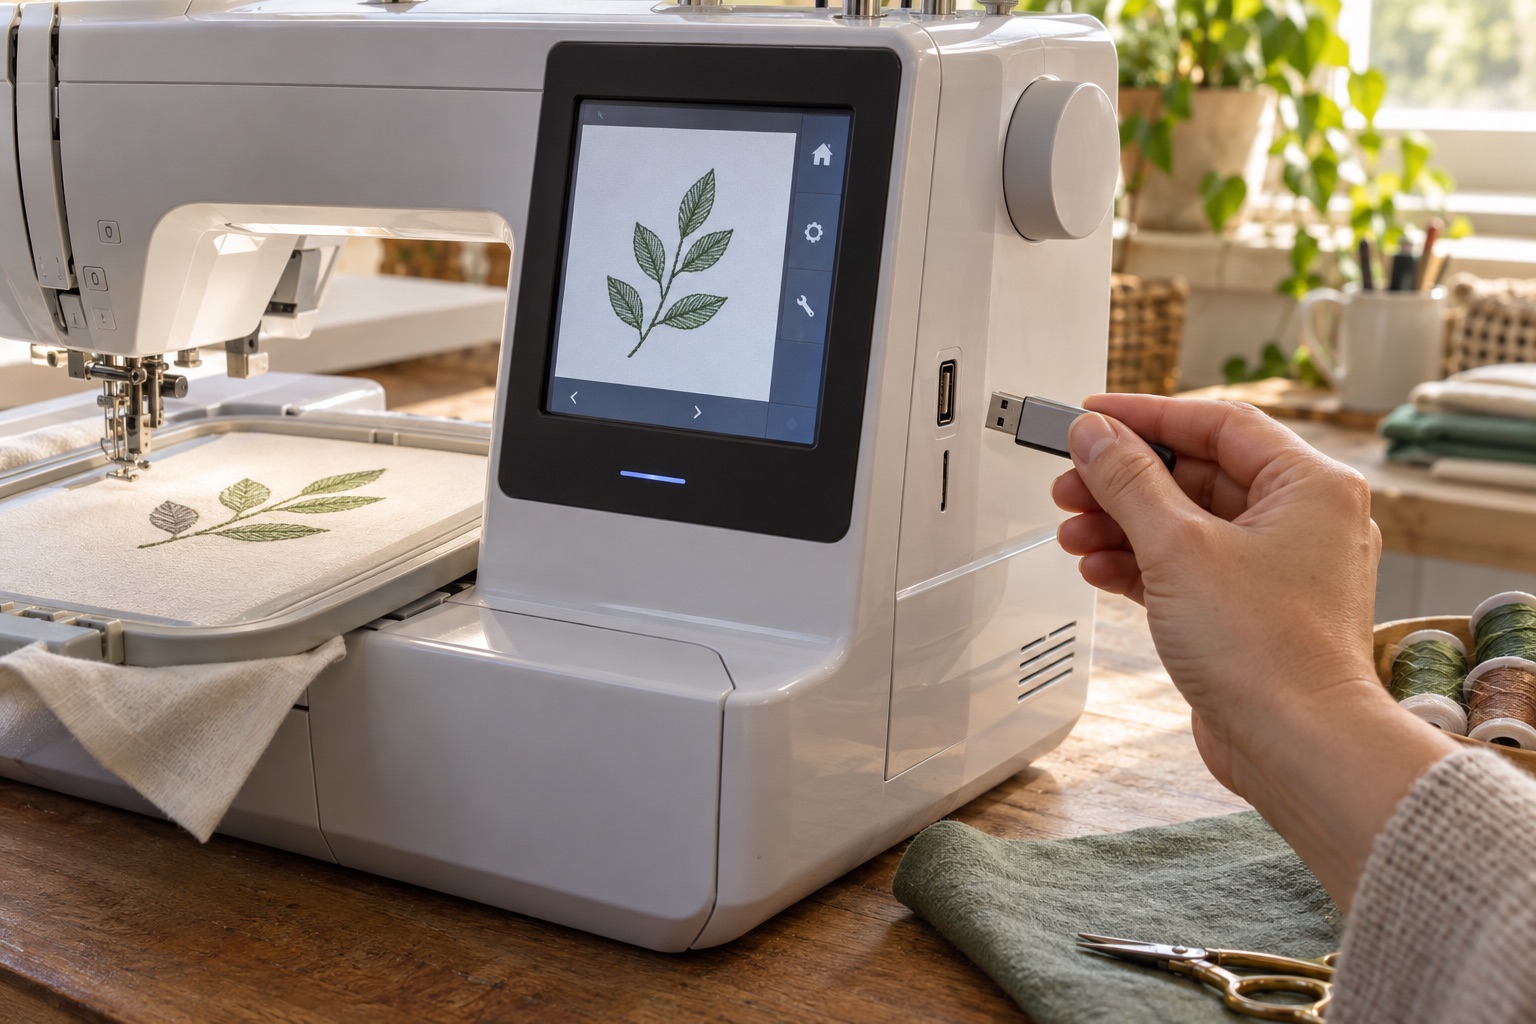
The first design transfer should be deliberately boring: one small, known-compatible motif and one empty or disposable USB stick. Once the machine recognises it, you can add a larger library. This separates file-format trouble from USB folder trouble, software trouble and design-size trouble.
Prepare the file before connecting anything
Read the file-format guide and your model manual. Note the accepted extensions, maximum embroidery field, supported USB media and whether the machine requires a particular folder. Download a design from a source whose licence permits your intended use. Extract a ZIP archive on the computer. A .zip, .jpg or .png preview is not the stitch file. Check the extracted filename and dimensions, then retain the original archive separately in case you need to repeat the transfer.
If the design is too large for the field, do not rely on an automatic reduction without checking stitch density. Some designs need re-digitising rather than simple scaling.
The USB route, step by step
- Use a USB stick whose capacity and format meet the specific machine manual. Back up anything already on it before formatting; formatting erases files.
- If the maker tells you to let the machine create folders, do that first. Janome's published instructions show that some models create an
EMB/Embfstructure, but folder rules vary by model. - Copy the one extracted stitch file to the required folder or root. Keep its name short and plain if the manual recommends this.
- Safely eject the stick from the computer. Insert it into the machine without forcing the connector and wait for the file list to populate.
- Open the motif, confirm its dimensions and colour sequence, select a permitted hoop and trace its boundary if your model offers that function.
The Janome Memory Craft 100E is a useful reminder to check model-specific USB support and field dimensions together. A file can be perfectly valid JEF yet too large for the machine's maximum field.
Janome Memory Craft 100E
Best for a beginner who values a larger square design field over wireless transfer and already has a separate machine for ordinary sewing.
An embroidery-only machine with a 140 × 140 mm included hoop, 274 built-in designs, colour screen, USB transfer and a swing-out embroidery arm.
Keep in mind
- It is heavier than the compact Brother options and needs clearance for the swing-out arm.
- USB transfer is practical but less seamless than a wireless app workflow.
What changes with wireless transfer?
Wireless transfer removes the USB-copy step but not file compatibility, design size or licence checks. Pair the machine using its maker-supported app and current official instructions. Confirm that the transferred design appears in the machine's design list before hooping fabric. The Brother M330E supports USB and wireless transfer; this flexibility is a meaningful choice if you expect to move designs regularly, but it does not make every downloaded file stitch-ready.
Brother Innov-is M330E
Best for a beginner who already owns a sewing machine and wants a guided, connected route into small motifs, names, labels and monograms.
A compact embroidery-only machine with a 100 × 100 mm field, colour touchscreen, 135 built-in designs, USB and wireless design transfer.
Keep in mind
- The 100 × 100 mm field limits large designs and does not describe the overall size of the project that can be hooped.
- Design files, stabiliser, embroidery needles and thread add to the working budget.
If the design does not appear
Check these in order: extracted stitch file, supported extension, field size, folder location, USB compatibility and whether the machine is viewing the correct storage location. Try a small built-in or maker-supplied test design. If that works, compare the rejected file's format and size. If no file is visible, try a different known-compatible USB stick and the machine's prescribed folder creation process. Avoid repeated formatting of a stick holding personal files. If the machine reports an error or freezes with a known-good file, stop and use official support rather than changing system settings blindly.
Once the design loads, the next challenge is physical: hoop fabric correctly and match stabiliser to the fabric before the first stitch-out.
Frequently asked questions
Do I need embroidery software to transfer a purchased design?
Not necessarily if the seller supplies a stitch file in the machine's exact supported format and size. Software is needed to edit or convert designs safely.
Why does my Janome show an empty USB drive?
Check the model's expected folder path, supported file format, USB compatibility and file dimensions. The Janome example folder is not universal.
Can wireless transfer resize a design to fit automatically?
Do not assume so. Check the machine's displayed embroidery field and any scaling limits before stitching.
Sources
The transfer sequence is based on Janome's USB folder instructions, a Janome MC550E USB example and Brother's transfer guidance.