
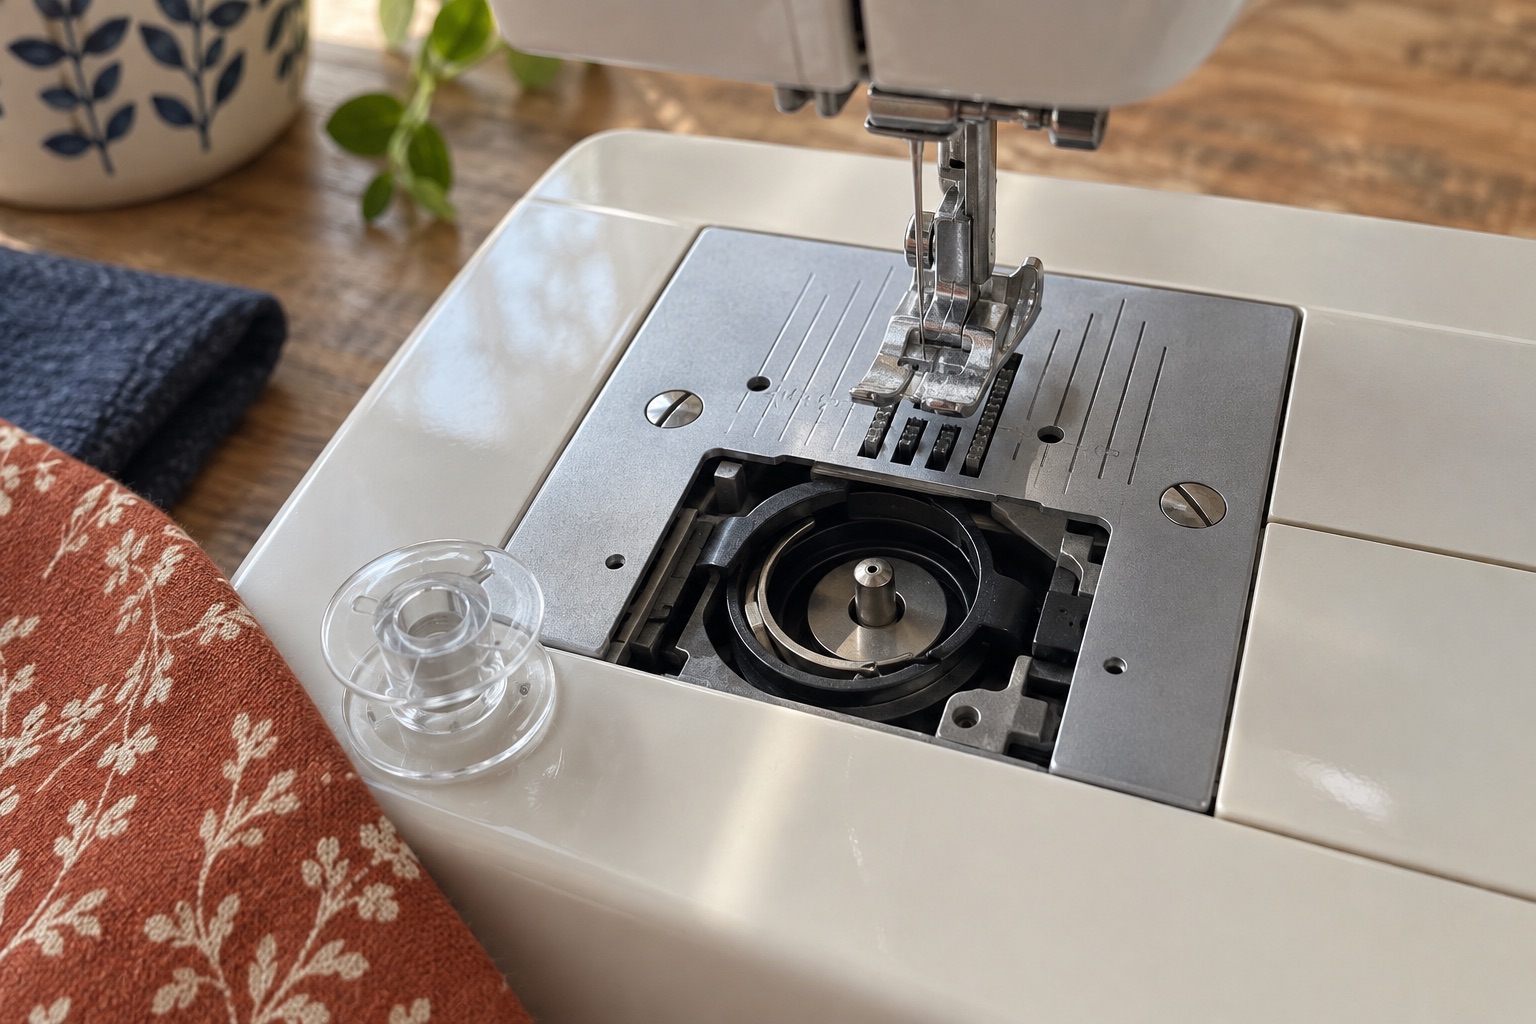
A top-loading bobbin sits horizontally beneath a slide plate or clear cover near the needle. It is easier to see than a front-loading case, but it is not a universal system. The correct bobbin size, unwind direction, slot and final thread position are printed in the instructions for your machine. The photograph above shows the kind of area to identify, not the threading route to copy.
Before opening the cover
Switch off or unplug the machine so an accidental pedal press cannot move the needle. Raise the needle using the control or handwheel in the manual's specified direction. Lift the presser foot. Take the extension table or accessory tray off only if the model requires it; most top-loading systems open from above.
Check that the bobbin is wound evenly and is not overfull. Match its maker part code to the model manual. A bobbin that looks similar can sit too high, rub the cover or fail to engage the spring. The Brother 11.5 mm SFB/SA156 pack below is a model-specific example. Buy it only where your Brother manual calls for that exact code; it is not right for every Brother machine.
Brother 11.5 mm sewing-machine bobbins, pack of 10
A useful spare set after confirming the exact Brother model's bobbin part code in its manual or support page.
Ten 11.5 mm plastic bobbins for Brother machines whose manual explicitly specifies SFB or SA156; not a universal bobbin replacement.
Keep in mind
- Do not use if your machine specifies another bobbin height, shape or material.
- The Amazon title alone does not prove compatibility with every Brother machine.
If you still need to fill an empty bobbin, follow the winding guide first. Do not put a loose, cone-shaped wind into the holder and hope tension will correct it.
Insert and thread the bobbin
- Slide or lift off the bobbin cover using its latch; do not pry at the needle plate.
- Hold the wound bobbin with its thread tail free. Compare the way the thread unwinds with the arrow or drawing on the actual cover or in the manual. Avoid relying on a generic clockwise rule: layouts differ.
- Lower the bobbin flat into the holder. Do not tip it into a gap or press it down with force. It should sit at the depth the manual shows.
- Lead the loose thread through the marked slit and beneath the spring or guide in the specified direction. A quick-set machine may have a cutter at the end of that route; another model may ask you to leave a longer tail.
- Replace the cover fully. Confirm it lies flush and clicks or slides home without trapping thread.
Do not loosen the bobbin-holder screw because the thread feels tight. First compare the path to the manual and check for a wrongly shaped or overfilled bobbin. With the cover back on, decide whether your machine asks you to bring up the bobbin thread manually. Many quick-set systems start sewing without that extra step.
The Brother LX17 is a full-size machine with a top-loading bobbin. Its product card illustrates that layout for someone comparing a first machine, not an instruction to use the Brother bobbin pack in another brand or model.
Brother LX17
Best for a new sewist who values an uncomplicated dial layout and wants to learn on a full-size machine without paying for electronic controls.
A straightforward mechanical machine with a top-loading bobbin, 17 stitches and the core feet needed for everyday repairs, simple garments and home projects.
Keep in mind
- Its four-step buttonhole takes more input than a one-step system.
- There is no speed-limiting slider or automatic needle threader.
Test the first seam
Thread the upper path with the presser foot raised, following all guides and the take-up lever. Put two layers of stable woven cotton under the foot, lower it and sew a short straight line at a moderate stitch length. Look at both sides before touching tension. An even seam means you can continue. A nest underneath often begins in the upper path, so check the threading before blaming the new bobbin.
If the bobbin rattles, catches or will not feed
Stop and switch off. Make sure the cover is seated, the bobbin lies flat and the thread actually passed beneath its guide. Compare the bobbin with one known to be correct for that model. Check accessible lint only as the manual permits. Do not sew with the cover off to watch the mechanism, and do not force a bobbin that stands proud. A cracked holder, persistent grinding sound or repeated needle strike calls for a dealer or technician.
Frequently asked questions
Does a top-loading bobbin always unwind anticlockwise?
No universal rule is safe. Use the arrow or drawing for your exact machine and route the thread through its own slit and guide.
Do I need to pull the bobbin thread up?
Some models ask you to; many quick-set models do not. Use the manual's final threading step rather than assuming either method.
Can I replace a plastic bobbin with a metal one?
Only if the manufacturer permits that material for the model. Match the specified part, not just its approximate diameter.
Sources
Brother's model-specific bobbin instructions warn against substituting a similar bobbin. Its machine setup guide describes checking the direction diagram and following the slot. The Brother LX17 specification supports the product example.