
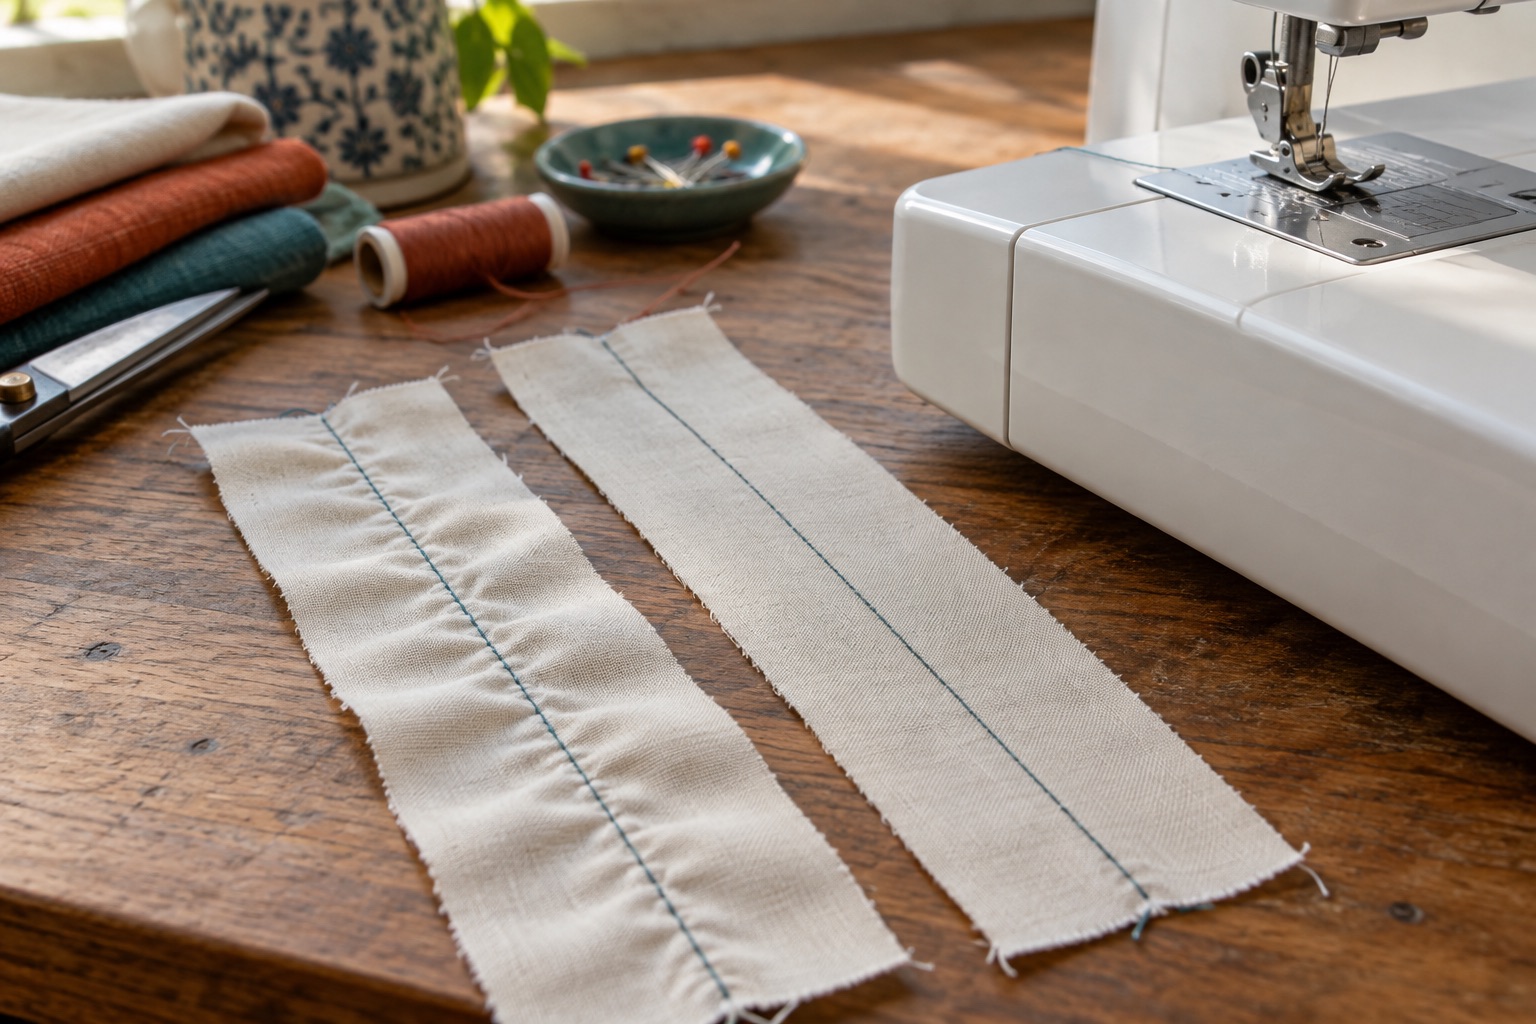
A puckered seam is not one diagnosis. Fine gathers around every stitch, a long wave along a jersey hem and one fabric layer creeping beyond the other need different fixes. Before changing a dial, compare an unsewn scrap with a stitched sample. Note whether the ripple is visible before pressing, whether it lies on one side or both, and whether the seam flattens under a fabric-safe press.
Read the shape of the ripple
Tiny, regular gathers at the needle holes may mean thread is pulling too tightly, the needle or thread is too heavy for a light fabric, or the stitch length is too short. Check both sides of the seam; do not assume the upper-tension number alone is wrong. On very fine cloth, even a balanced stitch can be bulky.
A longer, wavy edge is common when stretch fabric was extended as it passed under the foot. Support the material and use a stretch-compatible stitch and setup. Pressing may relax a mild wave, but a seam that remains distorted needs a sewing change.
One layer finishes longer than the other when the layers feed at different rates or the top layer is pushed ahead. Pin or clip appropriately, support the fabric's weight and consider model-compatible feed assistance for repeated layered work. Avoid pulling from behind; that can bend the needle or enlarge the seam.
Puckering only after washing can reflect fabric and thread shrinkage or skipped prewashing, not the machine's present tension. Test washed and unwashed scraps according to the care label before remaking a garment seam.
Build a reliable comparison seam
Fit a fresh needle suited to the fabric and machine, and use sound machine thread of a suitable weight. Rethread the upper path with the presser foot raised and seat the correct bobbin. Return stitch settings to a known baseline from the manual. Sew two layers of the actual fabric at a moderate speed, without stretching or steering it. Make a second sample with just one controlled change, such as slightly longer stitches. Label the samples so you can tell what helped.
If the stitches are visibly unbalanced, use the tension guide to adjust in small measured increments after threading is correct. Do not turn the bobbin-case screw first. If the fabric is so fine that the thread itself looks disproportionately heavy, test a thread and needle weight appropriate to it.
The SCHMETZ universal assortment below is useful for testing ordinary woven fabrics on machines specified for 130/705 H domestic needles. It is not a recommendation for elastic jersey or a cure for fabric being pulled out of shape. If you already have a sharp, suitable needle, use it instead.
SCHMETZ Universal needles, assorted sizes
A practical starting pack when the machine manual specifies the flat-shank 130/705 H system and your projects vary in fabric weight.
A ten-needle assortment spanning 70/10 to 100/16 for sampling fine-to-medium woven fabrics and ordinary sewing thread.
Keep in mind
- Universal point is not the first choice for very elastic knits.
- Check the needle system in your machine manual before buying.
Adapt the test to the fabric
For light woven cotton or lawn, start with a finer appropriate needle, compatible thread, and a stitch long enough not to perforate the fabric densely. Test an appropriate stabilising layer only if the finished construction allows it. For knits, use the point and stretch stitch suited to that textile, support the fabric's weight and avoid stretching it under the foot. For layered or slippery fabric, keep the layers aligned and check whether the presser foot is moving one layer faster. Our feeding guide covers a machine that fails to transport fabric at all; that is different from slight layer creep.
Press the sample as the fabric-care instructions allow: set the seam first, then press it open or to one side without dragging the iron. Compare before and after. If a seam looks fine only while held under heavy steam and immediately springs back, change the stitch setup rather than relying on pressing to conceal the cause.
Keep the fix that remains stable
Choose the change that gives a balanced seam after handling and pressing, not merely the flattest appearance under the foot. Sew a longer scrap and gently handle it as the garment will be handled. If several appropriate needles, threads and settings all produce severe puckering on ordinary stable cotton, check for feeding trouble or request service rather than continuing to turn tension higher or lower.
Frequently asked questions
Does puckering always mean tension is too tight?
No. Stitch density, heavy thread, needle choice, stretched fabric or unequal feeding can produce similar ripples. Reset and compare samples first.
Can ironing remove the pucker?
A fabric-safe press may relax mild construction waves, but persistent gathers or distortion require a sewing change. Never use heat beyond the textile's care limit.
Why does only the knit hem wave?
The edge may be stretching as it feeds. Support it, use a suitable stretch stitch and needle, and test the presser-foot pressure or feed method allowed by your machine.
Sources
Janome UK's maintenance and troubleshooting guide identifies needle, thread, stitch and tension factors in seam puckering. Brother's common sewing-machine problems guide provides related threading and feeding checks. Use fabric-care instructions for pressing and your model manual for settings.