
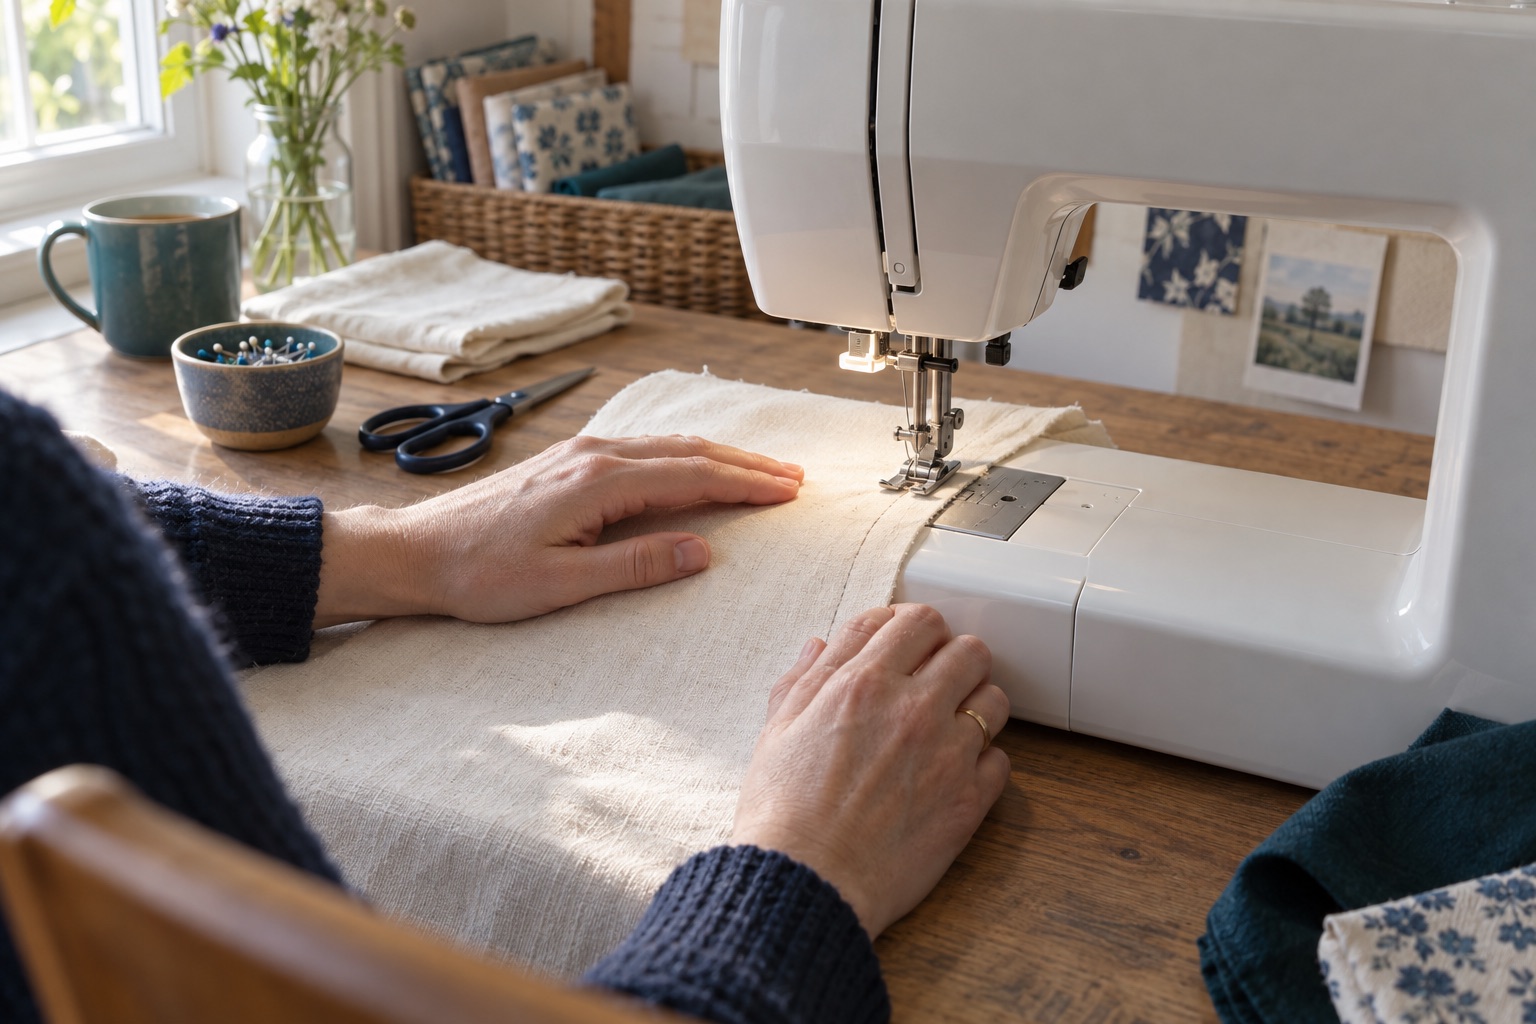
A straight line is less about holding the fabric perfectly still than giving it one dependable reference. The feed dogs move the cloth; your hands keep it aligned. Start on scrap rather than the cut pieces of a first project. A stable woven cotton makes changes in speed and direction easier to see than slippery satin or stretchy jersey.
Set up a fair first test
Thread the machine and insert the correct bobbin according to your model manual. Fit an undamaged general-purpose needle and the standard presser foot. Pick the machine's straight stitch, a normal starting stitch length from the manual and its default upper tension. Cut two cotton rectangles large enough to hold comfortably; place them together as your eventual project requires. A single layer of very thin cloth can be harder to feed consistently, so two layers are a better seam test.
Mark a straight line with a removable fabric marker if you want a visual target, but also choose a seam allowance: the distance from the needle to the raw edge. The needle-plate marks are often labelled in millimetres or inches. Check where the needle is positioned and measure the actual distance on a scrap; a shifted needle position changes the allowance even when the fabric edge follows the same mark. A small piece of low-tack tape on the machine bed can be a temporary guide, provided it does not cover moving parts or a required opening.
Use sound, ordinary machine-sewing thread for both upper thread and bobbin. This white Gütermann Sew-All is a straightforward practice option on pale cotton, not a requirement; use a colour that lets you inspect your own stitches and suits the finished project.
Gütermann Sew-All polyester thread, white
A reliable general-purpose thread family for mixed garment fabrics; choose the shade that blends with your project rather than buying white by default.
A 100 m spool of 100% polyester Sew-All thread for everyday construction seams, repairs and machine sewing.
Keep in mind
- The linked listing is white; match colour locally if needed.
- It is not the same as a deliberately heavy decorative topstitch thread.
Sew one straight seam
- Raise the needle and presser foot as the manual directs. Place the fabric under the foot with its edge on your chosen guide. Leave enough fabric beyond the needle to start securely, and arrange the thread tails as your machine requires.
- Lower the foot. Rest your hands lightly on the cloth to either side and in front of the needle area, away from the needle path. Look ahead at the edge and guide mark rather than at each needle strike.
- Start slowly with the foot controller or start button. Allow the feed dogs to carry the fabric. Do not tug from behind or hold it back; either can bend the needle and distort the stitch.
- Make small corrections early. If the edge begins to drift, steer it gently back towards the guide over several stitches. Sudden sideways pulls create a kink instead of a straight seam.
- Stop at the end. Secure the seam according to your project and stitch choice, often with a short reverse on an ordinary straight seam. Raise the needle fully, lift the foot, move the fabric away as the manual shows and trim the threads.
Inspect the top and underside. Regular stitches of similar length and a consistent distance from the raw edge matter more than speed. If you see loose loops, revisit threading before moving the tension dial. If the machine will not feed, check the foot is down and the feed dogs are in their sewing position.
A practice sequence that actually helps
First sew three lines across the same scrap without a drawn line, following one needle-plate mark. Measure the seam allowance at the start, middle and end. Next sew along a drawn line while keeping the cloth edge under control; notice which reference is easier for you. Finally try a gentle corner: stop with the needle in the fabric if your manual permits, lift the foot, pivot the cloth, lower the foot and continue. The corner is a separate skill; do not twist fabric while the needle is moving.
Change just one variable at a time. If your seam curves when you accelerate, repeat it at a lower pace using our speed-control guide. If only one fabric misbehaves, match its needle and settings with the needle-type guide before blaming your hands.
Why does the line wander?
Watching the needle instead of the edge makes the allowance drift. Pulling the fabric fights the feed dogs. A wide unsupported piece of cloth can drag off the table, so support its weight without pushing it into the machine. A blunt or bent needle, incorrectly fitted foot or fabric caught under the foot can also change feeding; switch off before inspecting those parts. If both sides of a sample look uneven, correct the setup first rather than practising around a machine fault.
Frequently asked questions
Should I draw every line first?
No. A drawn line is useful for practice and visible topstitching, but the fabric edge and a measured seam guide are more practical for most construction seams.
How fast should a beginner sew?
Slow enough to keep the edge aligned and stop where intended. There is no target speed. Consistency is more useful than covering the fabric quickly.
Why does the seam curve when I hold the cloth tightly?
The machine's feed dogs need to advance it. Tight holding or pulling changes that motion. Relax your hands and use light guidance at the edge.
Sources
Brother's machine setup and first-stitch guide explains the straight-stitch test and advises against pulling fabric. Its seam allowance guidance explains using a guide beside the presser foot. Your machine manual controls exact settings and needle-position behaviour.