
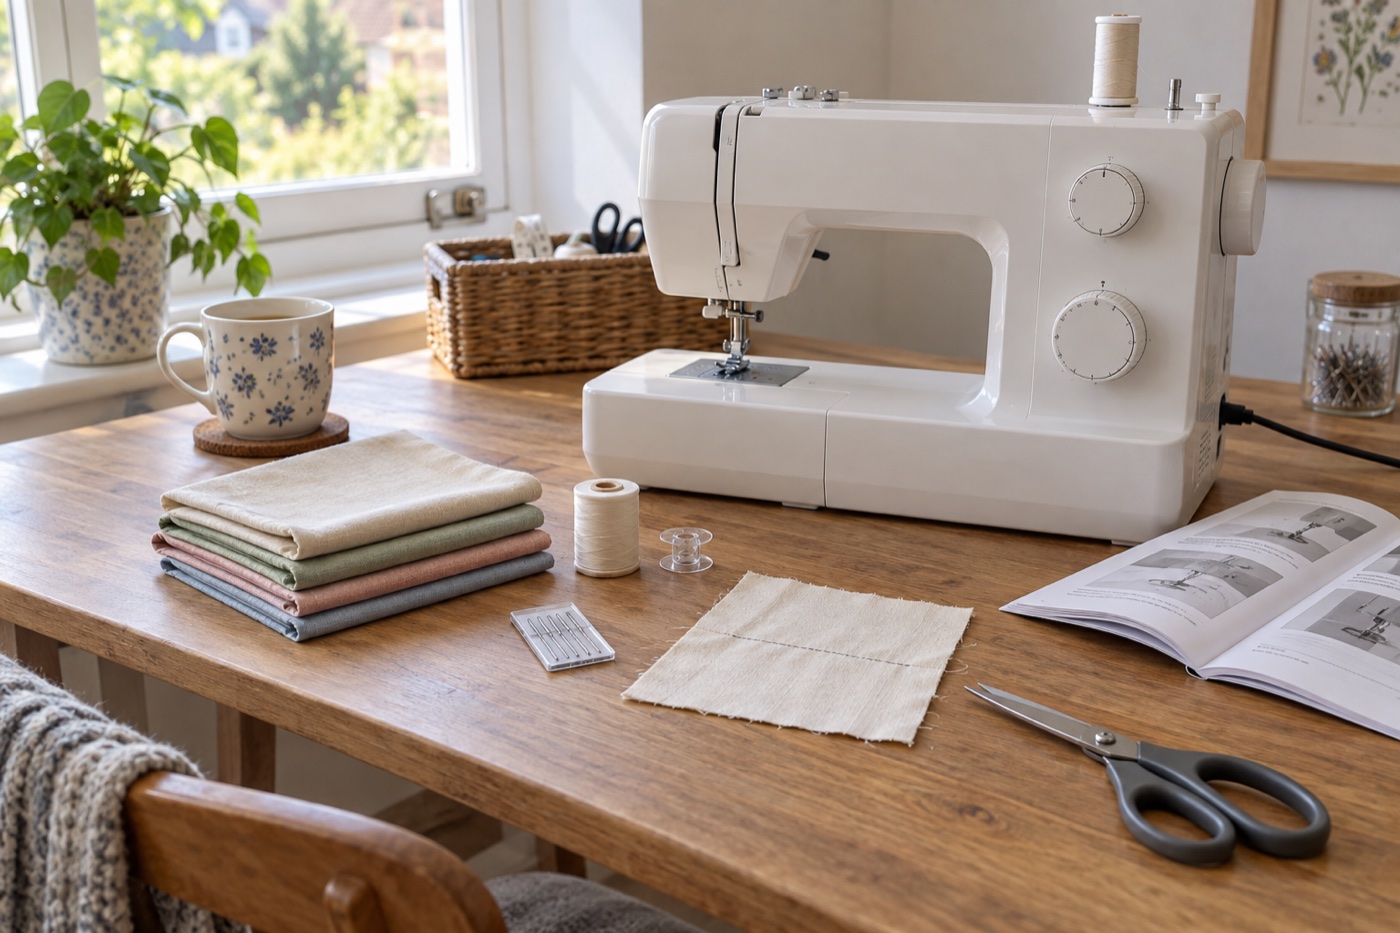
Your first sewing session does not need to end with a finished garment. A reliably threaded machine, a balanced straight seam and the confidence to stop a fault safely are better foundations. Keep the actual machine manual open: button names, bobbin direction, needle threading and maintenance vary. Use two medium-weight woven cotton rectangles, ordinary machine thread and the included all-purpose foot. Avoid slippery satin, elastic jersey and thick denim for this first control seam.
Minutes 0–10: give the machine a stable start
Set the machine on a firm table with a chair that lets your hands rest comfortably at the needle area. Find the power switch, foot controller or start/stop button, presser-foot lever, handwheel and bobbin-winder spindle. Read the safety page before plugging in, especially if children are present. Confirm that the correct foot and an undamaged compatible needle are fitted; switch off before touching either. Do not run the machine with the foot raised or fingers near the needle. Place pins where they cannot roll into the mechanism.
If you are still choosing a machine, a simple full-size model such as the Brother LX17 illustrates a straightforward two-dial start, top-loading bobbin and ordinary utility stitches. Its four-step buttonhole is a later lesson; buy for the projects you expect, not because this first-hour exercise requires it.
Brother LX17
Best for a new sewist who values an uncomplicated dial layout and wants to learn on a full-size machine without paying for electronic controls.
A straightforward mechanical machine with a top-loading bobbin, 17 stitches and the core feet needed for everyday repairs, simple garments and home projects.
Keep in mind
- Its four-step buttonhole takes more input than a one-step system.
- There is no speed-limiting slider or automatic needle threader.
Minutes 10–25: wind and thread once, carefully
Wind the correct bobbin using the manual's separate winding path and pre-tension guide. Check that thread builds evenly and the bobbin stops at the permitted fill. Return the winder to sewing position. Switch off and insert the bobbin in the marked direction. The Brother 11.5 mm SFB/SA156 pack below is relevant only if your model manual specifies it; most new machines already include bobbins, so there is no need to order spares for this first hour.
Brother 11.5 mm sewing-machine bobbins, pack of 10
A useful spare set after confirming the exact Brother model's bobbin part code in its manual or support page.
Ten 11.5 mm plastic bobbins for Brother machines whose manual explicitly specifies SFB or SA156; not a universal bobbin replacement.
Keep in mind
- Do not use if your machine specifies another bobbin height, shape or material.
- The Amazon title alone does not prove compatibility with every Brother machine.
Raise the presser foot and needle. Follow each numbered upper-thread guide, including the take-up lever, then thread the needle in the stated direction while the power is off. Draw thread tails behind the foot if the manual says to. Our full threading walkthrough helps you recognise the parts, but the diagram on your machine decides the exact route.
Minutes 25–45: make a controlled straight seam
Choose a straight stitch and the normal stitch length in the manual. Place two cotton rectangles right sides together with edges aligned. Use a marked seam guide on the needle plate rather than trying to steer by watching the needle itself. Lower the foot, keep fingers clear and start slowly. Let the feed dogs move the fabric; your hands guide its direction without pulling it through. Sew a short line, stop with the needle up as instructed, raise the foot and cut the thread tails. Inspect both faces. A balanced seam should be even and not loose or puckered.
If you need a control thread, Gütermann Sew-All is an ordinary all-purpose polyester family; the linked 100 m spool is white. A fresh SCHMETZ Universal needle is a sensible woven-cotton baseline where the machine uses 130/705 H. Neither is compulsory if the included needle and quality thread are working.
Gütermann Sew-All polyester thread, white
A reliable general-purpose thread family for mixed garment fabrics; choose the shade that blends with your project rather than buying white by default.
A 100 m spool of 100% polyester Sew-All thread for everyday construction seams, repairs and machine sewing.
Keep in mind
- The linked listing is white; match colour locally if needed.
- It is not the same as a deliberately heavy decorative topstitch thread.
Practise stopping on a mark, lifting the foot, pivoting the fabric at a corner and sewing a second line. Try reverse stitches at the start and finish only as the manual describes. If the machine nests thread, stop rather than sewing over the knot; rethread with the foot raised. If it skips, check the needle.
Minutes 45–60: finish one useful sample
Press the seam open or to one side according to the fabric, then sew a second pair of rectangles. Compare the two seam allowances. If you have time, sew a small square pouch sample by stitching three sides and turning it through the fourth; keep the opening unsewn. Do not cut into an unfamiliar seam until you are satisfied with the test. Write down the needle, thread, stitch and any setting you changed. A short record turns the next session into progress rather than starting from zero.
End by switching off and unplugging, brushing away visible loose snippets from the table and covering the machine once it is cool. Leave internal cleaning for the model-guided cleaning procedure. Your next skill might be a simple seam finish, zipper or buttonhole—not a new machine.
Frequently asked questions
What fabric should I practise on first?
Two layers of stable medium-weight woven cotton give a clear baseline. Avoid stretch, heavy seams and very fine slippery cloth until you can interpret an ordinary seam.
Do I need to buy extra bobbins and feet immediately?
Usually not. Use what the machine includes, then buy compatible spares or a specialist foot when a repeated project makes the need clear.
What if the first seam is messy?
Stop, keep the sample and follow the symptom. Thread nests suggest an upper-path check; skipped stitches suggest a fresh, correctly fitted needle; an actual jam requires powering off and safe clearance.
Sources
Brother's beginner machine setup tutorial covers the power, foot, bobbin and upper-thread sequence. Its common-problems guide supports the first fault checks. Follow your exact manual for stitch selection, threading and safety.