
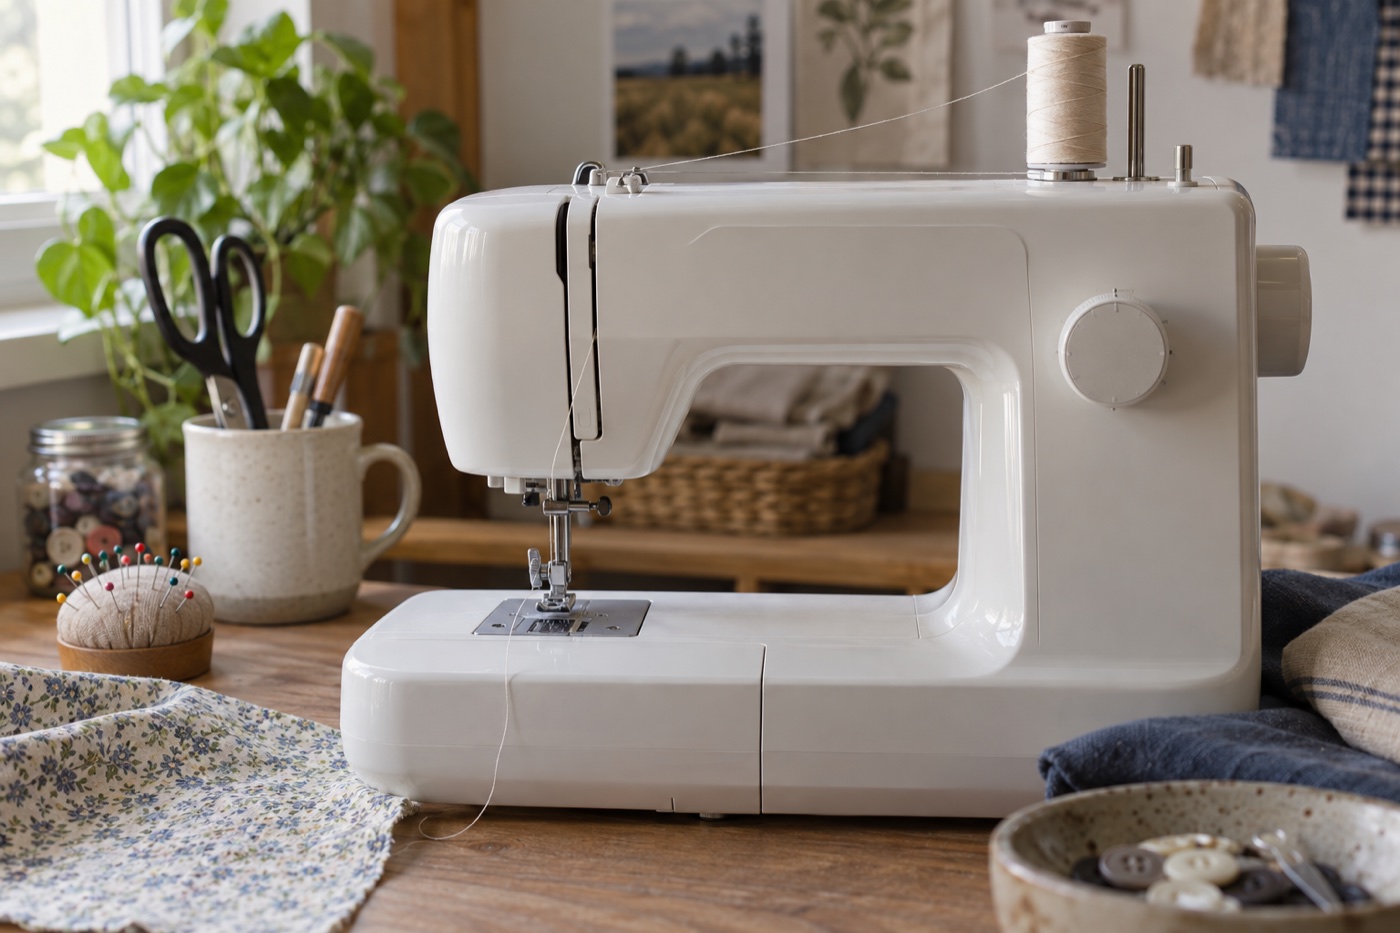
Machine layouts differ, so there is no safe universal diagram that replaces your own manual. The upper thread usually travels from spool pin through guides and tension discs, up through a moving take-up lever, down to a needle-bar guide and finally through the needle. The lower thread sits in a bobbin whose type and direction are model-specific. The aim is to account for every guide, not to memorise a photo of someone else's machine.
Prepare the machine before threading
Set the machine on a stable table. Choose ordinary machine-sewing thread and a compatible, undamaged needle. If threading by hand, switch off or unplug the machine so an accidental pedal press cannot move the needle. Raise the presser foot: on many domestic machines this opens the tension discs so the upper thread can seat between them. Raise the needle and take-up lever to their highest position using the needle-position control or handwheel in the direction specified by your manual. Do not turn the handwheel backwards without the manual permitting it.
Use a spool cap or spool-pin orientation that the manual specifies for the spool shape. A poorly seated spool can catch at the end notch and mimic a tension fault. For a first setup, a consistent all-purpose polyester thread is more useful than novelty or hand-sewing thread. The Gütermann spool below is an example of the Sew-All family; its linked colour is white, so choose a shade suitable for your project.
Gütermann Sew-All polyester thread, white
A reliable general-purpose thread family for mixed garment fabrics; choose the shade that blends with your project rather than buying white by default.
A 100 m spool of 100% polyester Sew-All thread for everyday construction seams, repairs and machine sewing.
Keep in mind
- The linked listing is white; match colour locally if needed.
- It is not the same as a deliberately heavy decorative topstitch thread.
Follow the complete upper-thread route
Place the spool as shown in your manual. Draw thread through the first top guide and down the marked channel with the presser foot raised. Bring it back up and through the take-up lever—it must be at the top where you can see or reach it. Continue down through the guide above the needle, then thread the needle eye in the specified direction. Some automatic needle threaders have size or specialist-needle restrictions; use the manual rather than forcing a hook through a small eye. Pull a short tail under the foot towards the rear.
If the thread pulls tightly even while the foot is raised, stop and inspect the spool, guide and path. If it has missed the take-up lever, remove it and start again. Trying to patch a missed guide halfway through often leaves a hidden error.
Wind and insert the correct bobbin
Use only the bobbin specified for your exact model. Follow its winding route, which commonly includes a separate pre-tension guide before the bobbin-winder spindle. Start the first turns as directed and trim the tail safely. Stop when the machine's winder stops; an uneven, loose or overfilled bobbin should be rewound. Switch off before opening the bobbin cover or inserting the case. Follow the diagram on the cover or manual for the direction in which thread unwinds and the slot it must enter. Never rely on a generic “clockwise” rule for every top-loader.
The Brother SFB/SA156 card below is only for machines whose manual calls for that 11.5 mm bobbin. See our compatibility guide before purchasing extra spools.
Brother 11.5 mm sewing-machine bobbins, pack of 10
A useful spare set after confirming the exact Brother model's bobbin part code in its manual or support page.
Ten 11.5 mm plastic bobbins for Brother machines whose manual explicitly specifies SFB or SA156; not a universal bobbin replacement.
Keep in mind
- Do not use if your machine specifies another bobbin height, shape or material.
- The Amazon title alone does not prove compatibility with every Brother machine.
Some machines bring up the bobbin thread by holding the upper tail and turning the handwheel towards you once; others have a quick-set bobbin that begins directly. Follow the model instructions. Pull both thread tails behind the presser foot if your manual requests it. Refit all covers before sewing.
Test the path before changing tension
Put two layers of ordinary woven cotton under the foot, lower the foot and sew a short straight line slowly. Inspect both faces. If a loose nest forms underneath, the upper thread may not be between the tension discs or may have missed the take-up lever; see our focused nesting guide. If stitches skip, fit a fresh suitable needle and check its insertion before touching tension. If the motor does not sew, check that the bobbin-winder spindle has been returned to its sewing position.
Frequently asked questions
Should the presser foot be up or down while threading?
Up for the upper path on machines that open the tension discs with the foot lever. Lower it for sewing. Follow your manual for any electronic foot-lift sequence.
Do I have to pull up the bobbin thread?
It depends on the machine. Some quick-set systems do not require it; others show a handwheel method. Use the exact model instruction.
Why does the thread fall out of the needle at the start?
Leave the recommended tail, lead it behind the foot where instructed and begin on fabric rather than running the machine empty. Recheck the take-up lever and spool path if the problem repeats.
Sources
Brother's machine setup tutorial, upper-threading instructions and model-specific bobbin guidance explain the raised-foot threading path and bobbin cautions. Follow the exact manual for your machine's controls and direction diagrams.