
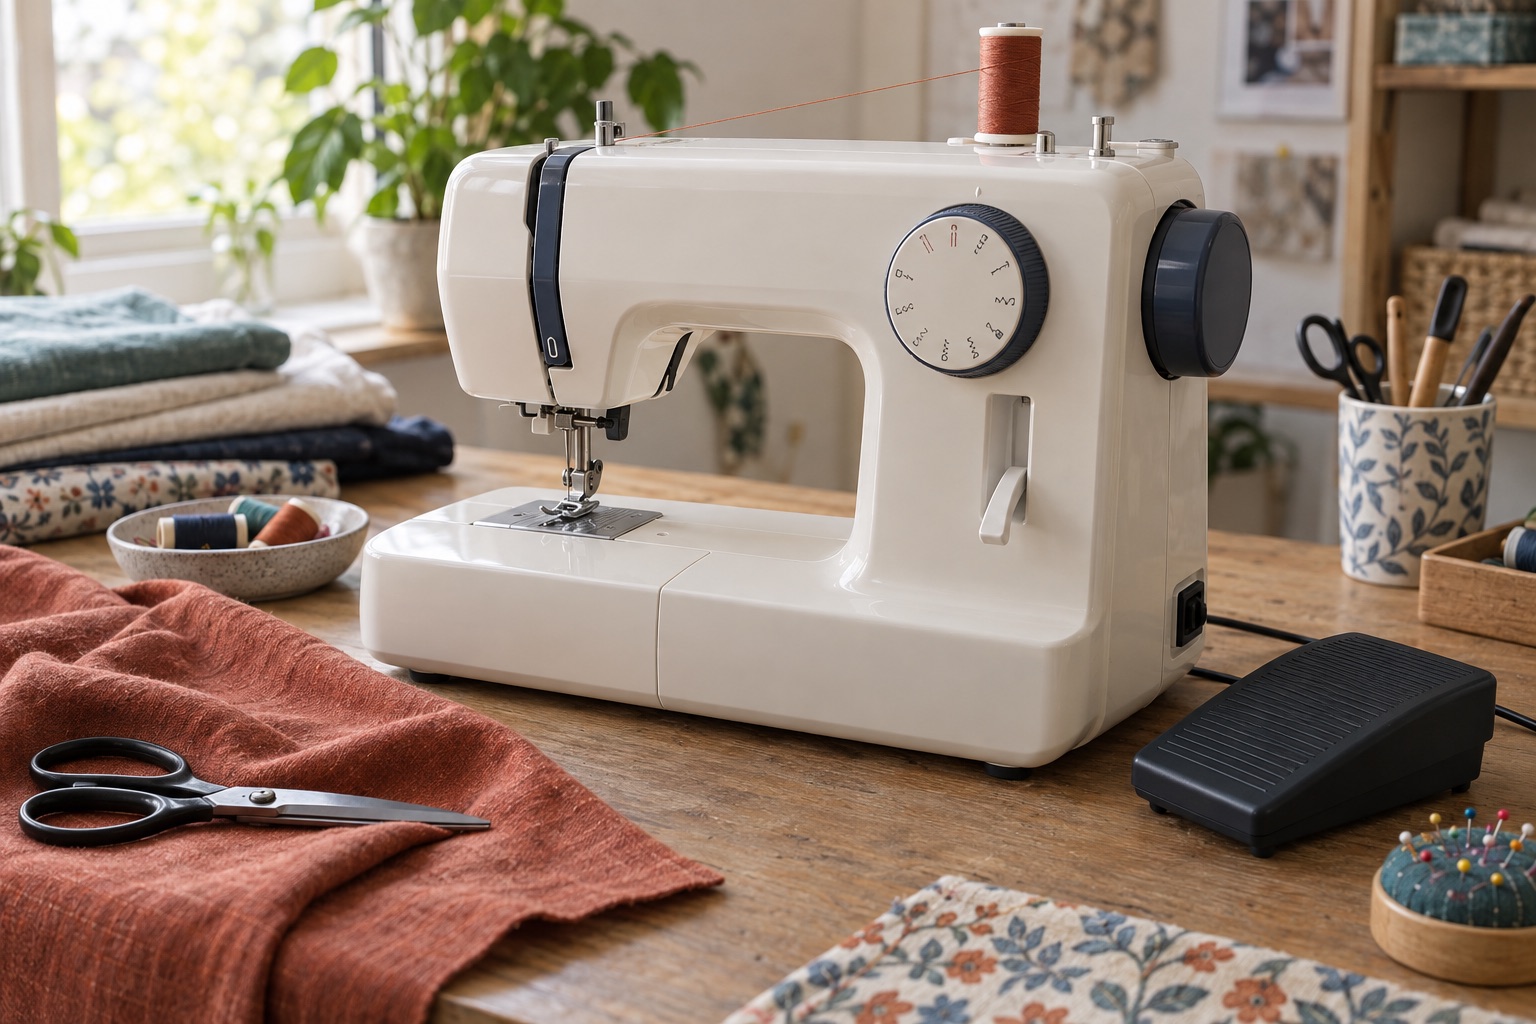
A sewing machine looks busy because several controls sit close together, but a first straight seam needs only a few. The manual for your model is the map: one machine uses dials, another uses buttons and a screen, and the same-looking lever can serve a different function. Before plugging in, locate each control with the machine switched off. Keep fingers away from the needle area whenever you test movement.
What starts, stops and moves the machine?
Power switch and foot controller. The switch energises the machine; the pedal controls sewing speed on many domestic models. Press gradually rather than treating it as an on/off switch. Some electronic machines also have a start/stop button and a maximum-speed slider. Check the manual: a connected foot controller may change how the button behaves. The slider caps the upper speed; it does not repair poor feeding or thread tension.
Handwheel. This lets you position the needle deliberately, for example before lifting the presser foot or turning a corner. Turn it only in the direction specified in your manual. If it resists, stop rather than forcing it; a thread jam or engaged bobbin winder may be involved.
Presser-foot lever. Raise it to place fabric and, on many machines, to open the upper-thread tension discs while threading. Lower it before sewing so the foot holds the fabric against the feed dogs. A separate presser-foot pressure adjustment, where fitted, changes how firmly the foot bears on the fabric; it is not the lever that lifts the foot. Our guide to threading explains why the raised-foot step matters.
Which controls change the stitch?
The stitch selector chooses straight, zigzag, buttonhole or another stitch. On a mechanical machine it may be a dial; on an electronic model it may be a numbered button or screen selection. Check whether your manual asks you to raise the needle before changing a setting. For the first test, select a straight stitch and a normal stitch length. A very short length can make the fabric look stationary; a very long length leaves weak, conspicuous stitches. See how many stitches you really need before treating the decorative count as a buying criterion.
The stitch-length control changes the distance between needle penetrations. The stitch-width control changes sideways movement for zigzag and related stitches; some machines also use it to move the straight-stitch needle position. Confirm that the chosen needle and presser foot clear the needle path before sewing. The reverse control briefly sews backwards to secure a conventional seam. It is different from turning the fabric around; our reverse-stitch guide shows when to use it and when not to.
Feed dogs are the toothed bars beneath the foot that move fabric through the machine. Some models have a drop-feed lever for free-motion work. If the fabric does not advance, first check that the feed dogs are raised and the foot is down; do not pull the fabric hard from behind. Thread tension is a separate adjustment to consider only after the machine is correctly threaded and a test seam shows a problem.
The Brother LX17 is an example of a simple dial-led mechanical layout. Its four-step buttonhole and pedal-only speed control are trade-offs, not faults. If you have not bought a machine yet, compare the controls you would actually use, rather than counting buttons.
Brother LX17
Best for a new sewist who values an uncomplicated dial layout and wants to learn on a full-size machine without paying for electronic controls.
A straightforward mechanical machine with a top-loading bobbin, 17 stitches and the core feet needed for everyday repairs, simple garments and home projects.
Keep in mind
- Its four-step buttonhole takes more input than a one-step system.
- There is no speed-limiting slider or automatic needle threader.
The Brother SH40 illustrates the alternative: a speed slider, start/stop button and needle-position control can make slow, repeated practice easier, though the extra controls take time to learn.
Brother SH40
Best for a beginner who wants slower, capped sewing speed and controls that can support dressmaking, light quilting and more varied projects as confidence grows.
A compact electronic machine that adds a speed slider, start/stop control, needle up/down, 40 stitches and five one-step buttonhole styles without moving into a large chassis.
Keep in mind
- The compact 10 × 16 cm workspace is not designed for managing large quilts.
- Its extra controls and numbered stitch selection are less immediate than two mechanical dials.
What belongs to the threading system?
The bobbin-winder spindle winds the lower thread and may disengage needle sewing while it is pushed across. Return it to sewing position afterwards. The spool pin, upper-thread guides and moving take-up lever form the upper path; skipping one can cause a nest beneath the fabric. The bobbin cover or front access door leads to a model-specific lower-thread system. Do not adjust a bobbin-case screw to compensate for incorrect threading. Start with winding the bobbin, then use the correct top-loading or front-loading guide.
A five-minute control test
With the machine correctly threaded and a stable woven-cotton scrap under the all-purpose foot, lower the foot and sew a short straight line at low speed. Stop, raise the needle as your manual directs and inspect both sides. Sew a second line, this time using the needle-plate seam guide rather than staring at the needle. Try a brief reverse at the end only if your manual allows it for this stitch. Change one control at a time and note the result on the scrap.
If the pedal runs the motor but the needle does not move, check the bobbin-winder position before assuming the machine is broken. If there is a new knock, hot smell, damaged cable or resistant handwheel, stop, unplug and seek the manual's service advice.
Frequently asked questions
Should a beginner change the tension dial?
Not as a first step. Use the usual setting in your manual, thread with the foot raised and test on two layers of cotton. Only then make one controlled change if the stitches require it.
Is a speed slider necessary?
No. A sensitive pedal can be learned. A slider is useful if you want a firm ceiling while practising or managing curves and corners.
Why will the machine not sew after I wound a bobbin?
Many machines pause needle sewing while the bobbin-winder spindle is engaged. Return it to sewing position as the manual shows, then check the foot and threading.
Sources
Brother's machine setup guide explains the basic control and threading sequence. The Brother LX17 and Brother SH40 specifications support the contrasting control examples. Use your own model manual for control positions and operating limits.