
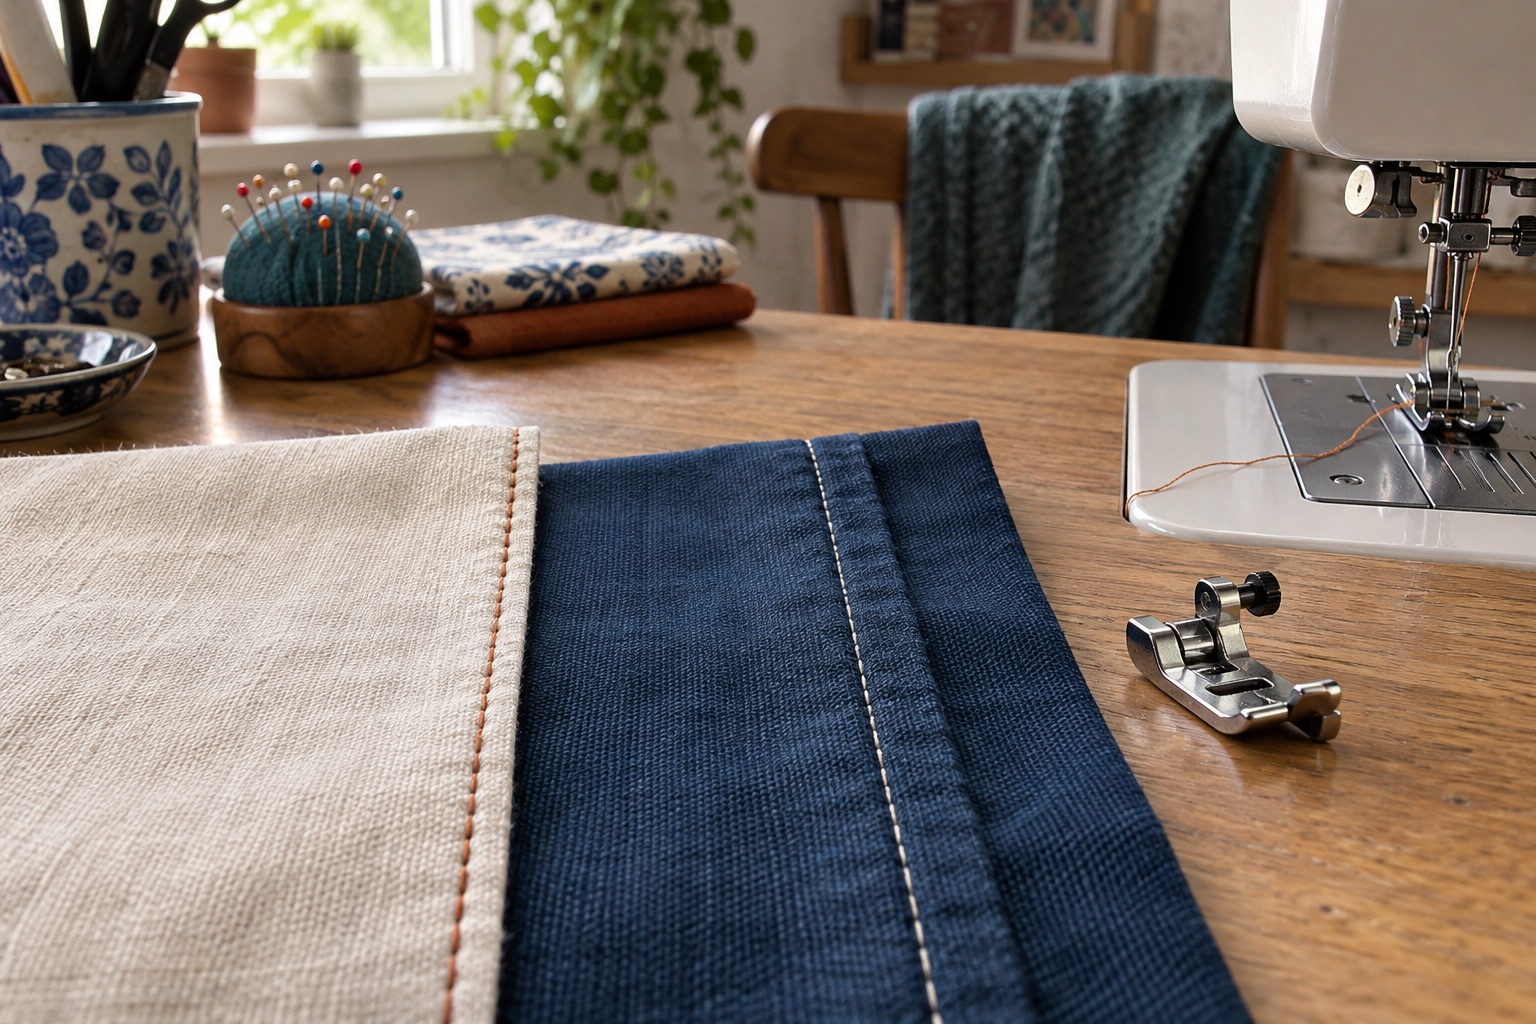
Some presser feet have a small vertical guide or blade. It can follow a folded edge, a seam line or the gap between two fabric pieces. “Edge-stitch foot” and “stitch-in-the-ditch foot” are often used loosely in shop titles, but the stitch line you want is more useful than the label. Make that decision before choosing a guide.
Visible topstitch or hidden seam stitch?
An edge stitch is deliberately visible: a straight line close to a neckline facing, pocket edge, collar or binding. It may be called edgestitching or close topstitching. A stitch in the ditch sits in the shallow groove where two fabric pieces meet. On a quilt it can anchor layers along piecing seams; on a garment it may secure a waistband or binding inconspicuously. The thread is not always invisible—contrast thread, pressing direction and uneven seams affect the result.
A quarter-inch piecing foot serves a third job: keeping a consistent seam allowance as two pieces are joined. Its edge reference is usually much farther from the needle than an edgestitch line. Do not buy it expecting a near-edge guide, even though some makers describe it as useful for parallel topstitching. Our piecing setup explains the seam-allowance task.
Place a clean stitch beside an edge
Press the folded edge or seam first. If the fabric is light, test an interfaced sample so the edge does not collapse under the guide. Attach the permitted guide foot with the power off and set the stitch and needle position specified by the maker. Place the guide against the folded edge, then turn the handwheel through a full cycle to ensure the needle clears it. Sew a short line on a scrap, measure the actual distance from the edge and adjust the approved needle offset only if necessary. Do not drag the fabric against the guide; let it just touch while the feed dogs carry the work.
At curves, slow down and rotate in small increments with the needle down where safe. A guide foot cannot keep a fixed distance from an uneven cut edge or a seam allowance that changes thickness abruptly. Correct the preparation before blaming the foot. If the top layer creeps, revisit foot pressure or walking-foot feeding as a separate question.
Follow a pressed seam, not a drawn line
Press the underlying seam allowance consistently so the groove is predictable. Place the guide in the ditch and use the centred straight stitch if your foot's instructions specify it. Brother's F065 tutorial uses that arrangement. Sew slowly and support the quilt's weight on the table; hanging bulk can pull the guide sideways. Inspect the underside too: a top line in the ditch can wander onto the adjacent patch below if the quilt sandwich shifts. Basting remains important even with a good guide.
For a quilt, decide whether you want the seam itself to be visually quiet or whether parallel topstitching would be more forgiving. A narrow visible line may look more intentional than a line that jumps in and out of the ditch.
What to verify before buying a guide foot
Brother's documented F065 is a stitch-in-the-ditch example; F017N is an adjustable blind-stitch guide also described for edge stitching. They are not interchangeable merely because both have guides. Identify the exact machine model, accessory code, attachment, guide position and stitch-width clearance. We have not attached an ambiguous marketplace card to this guide because current short-titled listings do not establish those details well enough. Use the supplied blind-hem foot for a test if your manual permits edge guiding, or choose an exact maker-approved foot from its compatibility list.
Frequently asked questions
Can I edge stitch with an ordinary foot?
Yes. Align the folded edge with a reference mark on the foot or plate and practise at a moderate speed. A specialist guide becomes useful when the same narrow offset is repeated often.
Is stitch-in-the-ditch always invisible?
No. It is usually less conspicuous when thread matches and the seam is well pressed, but uneven seams and fabric movement can expose the line.
Why does the needle strike the guide?
The wrong stitch, needle offset or width may be selected, or the foot may not be seated. Stop, replace a damaged needle and handwheel-check the corrected setup.
Sources
Brother's F065 foot specification and stitch-in-the-ditch tutorial describe the central guide method. Brother's F017N page documents its adjustable guide and edge-stitch use. Exact stitch positions remain model-specific.