
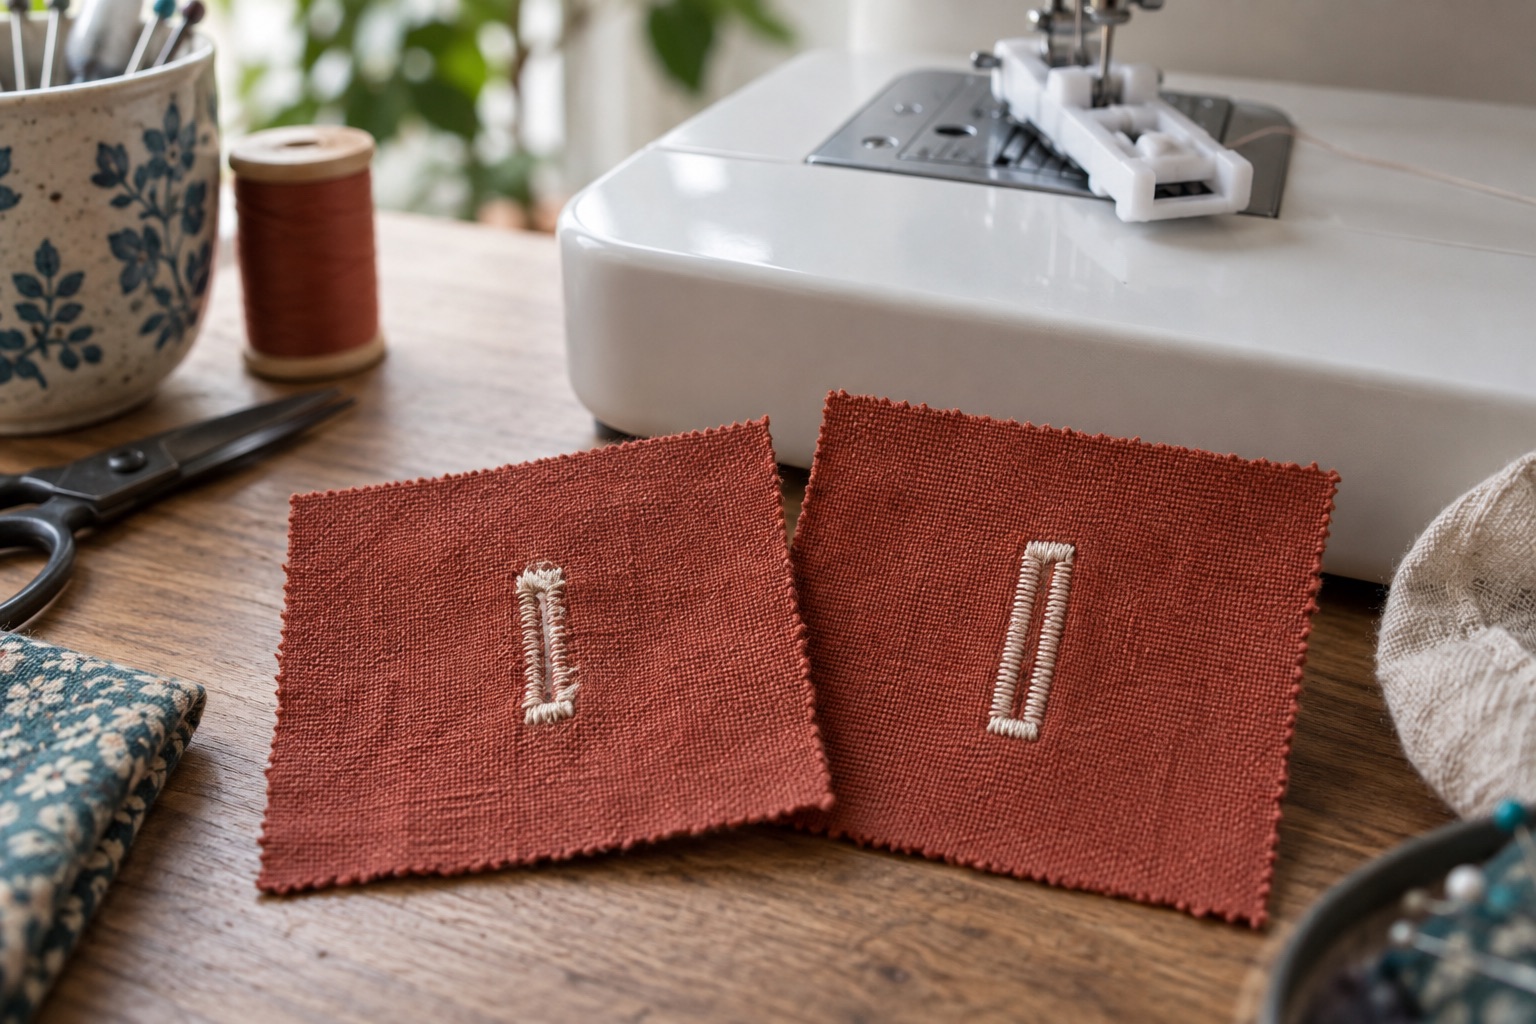
Buttonholes combine close stitches, directional changes and often a sensor or lever. A problem can therefore look like “the machine hates this fabric” when the foot is not seated or the programme is not set up. Do not cut open a failed test buttonhole or put the first test directly on a finished garment. Work through the type of buttonhole your machine actually makes.
One-step and four-step faults are different
On many one-step machines, a buttonhole foot holds the button to measure length, and a separate lever must be lowered beside the foot. Other machines use a different sensor arrangement. If the machine sews indefinitely, stops too soon or refuses to begin, check those parts against your exact manual. A four-step buttonhole typically relies on you changing between the four positions at the correct marks; there may be no automatic size measurement. Our one-step versus four-step guide explains the decision and basic sequence.
Use the specified foot and appropriate needle/plate combination. A standard zigzag foot may let a few stitches form but cannot necessarily trigger the buttonhole programme. Never push a sensor lever by hand during sewing.
Match the symptom to the first useful check
It will not start or moves only a little: Confirm the chosen programme, foot, lever or sensor position, and whether the bobbin and upper thread are installed. Re-select the stitch according to the manual after correcting a setup error. If ordinary straight stitching also fails, use the feeding guide.
It sews the wrong length: On one-step machines, confirm the intended button sits correctly in the foot's holder and that any lever is deployed. On four-step machines, re-mark the start and stop lines and practise each transition. Very thick or unusually shaped buttons may need a different allowance; test the actual button through the sample opening.
One leg is sparse, wavy or shorter: Check that the fabric moves freely rather than hanging off the table, that the foot is level and that you are not tugging the work. A failed or uneven feed can change the balance. Some machines offer a buttonhole-balance control; adjust it only by the manual on a sample, not as a guess on the garment.
The stitches skip or loops form: Fit a fresh fabric-appropriate needle, rethread with the presser foot raised as directed and test ordinary zigzag stitches. Consult skipped stitches or tension if the same symptom occurs outside buttonholes.
The fabric puckers or tunnels: Match the garment's interfacing and layers in your sample, support soft or loose-woven fabric appropriately and avoid pulling. More tension is not the default answer; see puckered seams.
Make a sample that predicts the garment
Layer scrap fabric, seam allowance and interfacing exactly as they will be at the button position. Mark the buttonhole's start and centre line. Fit the actual button in a one-step foot where instructed, or mark its required length for a four-step sequence. Sew one sample slowly with fabric supported, then inspect both sides and test the button fit before cutting an opening. If opening a successful sample, put a pin or stop marker ahead of the bar tack and use the seam ripper carefully; never push it towards your hand.
The right foot usually came with the machine. Buying a generic replacement without checking shank, sensor and model compatibility can make the problem worse, so there is no broad affiliate recommendation here.
When is it more than setup?
If the correct foot and lever consistently fail to trigger the programme, the machine cannot reverse or feed reliably, or there is a collision or grinding sound, stop. Record a short description of what happened on a plain-cotton sample and contact the maker or a technician. Do not open the sensor housing. See when to call a technician.
Frequently asked questions
Why does my buttonhole keep sewing past the button?
On a one-step machine, check that the button is seated in the correct foot and any required lever is lowered. Four-step machines need a marked stopping point and manual stage changes.
Should I tighten tension for uneven buttonholes?
Not first. Verify the foot, fabric support, needle and threading, then use any model-specific balance control on a sample.
Do I need stabiliser or interfacing?
Many garment buttonholes need a stable layer to support dense stitches. Test the same interfacing and fabric stack planned for the garment rather than adding an arbitrary extra layer.
Sources
Brother's buttonhole troubleshooting discusses stitch balance, feeding and size on a specific model; its one-step buttonhole instructions show why foot setup and sampling matter. Controls vary, so use the instructions for your machine rather than copying another model's lever sequence.