
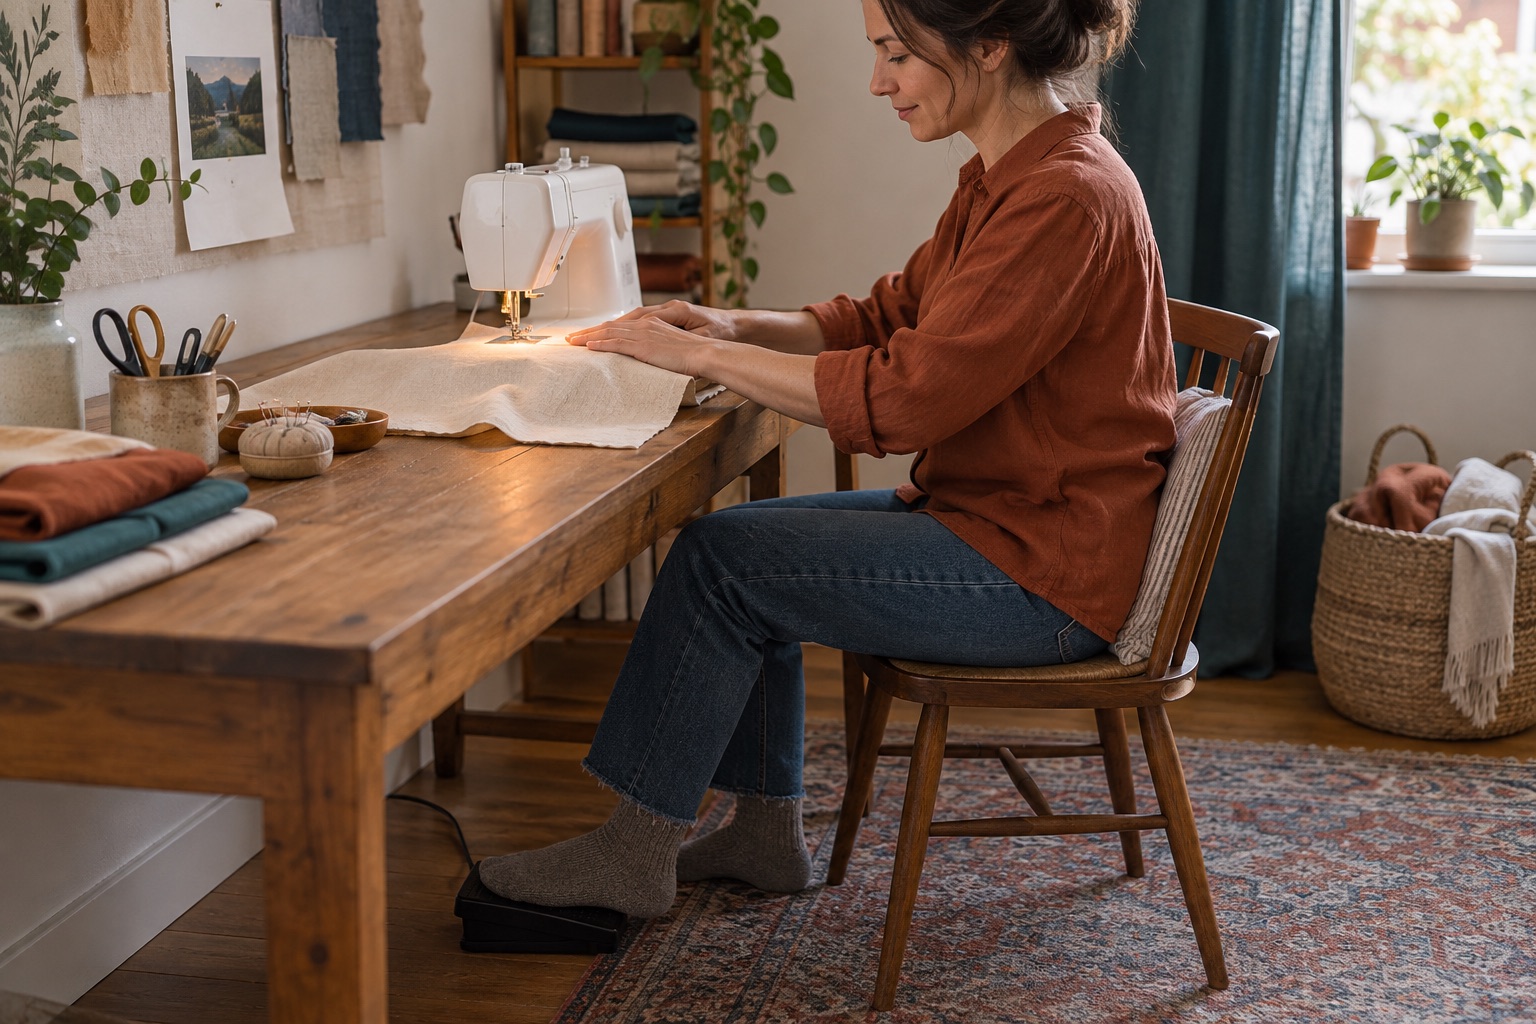
Many beginners can guide fabric accurately until the machine leaps into motion. Speed control is a separate coordination skill, and it improves quickly when the first practice goal is stopping exactly where you choose, not finishing a project. Put two layers of stable cotton under the standard foot and choose a basic straight stitch before trying these drills.
What actually controls sewing speed?
On many mechanical machines, the foot controller is the only variable-speed control. A gentle press starts slowly; more pressure speeds up the motor. Some electronic machines also provide a speed slider that limits the maximum speed. It does not automatically make a heavy seam safe or correct an unsuitable needle. A start/stop button, where supplied, can operate without the pedal on some models; the manual may specify that connecting the pedal disables that button. A handwheel positions the needle by hand; it is not a way to power through a jam.
The Brother SH40 is one example of a UK machine with a speed-control slider and start/stop control. Those features can help if a sensitive pedal feels difficult, but they are conveniences, not prerequisites for learning. Confirm the model and included controls with the seller before buying.
Brother SH40
Best for a beginner who wants slower, capped sewing speed and controls that can support dressmaking, light quilting and more varied projects as confidence grows.
A compact electronic machine that adds a speed slider, start/stop control, needle up/down, 40 stitches and five one-step buttonhole styles without moving into a large chassis.
Keep in mind
- The compact 10 × 16 cm workspace is not designed for managing large quilts.
- Its extra controls and numbered stitch selection are less immediate than two mechanical dials.
If you already have a pedal-only machine, practise with it first. Make sure the controller sits flat where your foot reaches it comfortably and the cable cannot catch your chair. Keep the machine on a stable table. Do not use a damaged pedal or cable; switch off and seek the maker's service advice.
Three safe drills for a calmer foot
- Find the starting point. With the presser foot down over a cotton scrap and fingers away from the needle, press until the needle makes one or two stitches. Release fully. Repeat until you can start without a sudden burst. If your machine has a slider, start at its low setting.
- Make short runs. Aim for a few centimetres, stop, then continue. Watch a seam guide beside the fabric edge. A deliberate stop is a success even if the line is not perfectly straight yet.
- Stop on a mark. Mark a line across the fabric and ease off the pedal before the needle reaches it. See how many stitches the machine takes while slowing. Practise again until you can predict the stopping distance.
Move one hand at a time only when the machine is stopped. Do not guide fabric immediately beside a moving needle. If you need to reposition the cloth, stop first, check needle position and then move it as the manual permits. For a full seam technique, see how to sew a straight line.
What changes at a corner, curve or thick spot?
Slow before a corner. Stop with the needle in the fabric if your model and stitch allow it, lift the foot, pivot, lower the foot and resume. Trying to steer a sharp corner while the needle is cycling can bend it. On a gentle curve, make small guiding changes as the feed dogs advance the fabric; short stitch-by-stitch bursts can help. For bulky layers, do not simply press harder on the pedal. Check the correct needle, support the fabric, and read the bulky-seam guide.
For a short reinforcement at a seam end, slow down before using reverse. Some electronic buttons make a programmed reinforcement rather than running backwards for as long as held. Our reverse-stitch guide explains the distinction.
If the speed feels unpredictable
First separate the machine from the fabric problem. If the motor races even with a light touch, check the controller sits securely and that your foot is not accidentally depressing it. If the machine hums but does not form stitches, stop and inspect the bobbin-winder position, needle movement and thread path according to the manual. If it labours only through thick fabric, the issue may be needle, feed or layer height rather than pedal technique. An erratic motor, smell, heat or damaged lead needs a switch-off and qualified service, not another practice run.
Frequently asked questions
Do I need a speed slider to learn?
No. It provides a helpful ceiling, but a gradual foot controller and short practice runs can teach the same start–stop skill.
Can I sew using the handwheel alone?
The handwheel is useful for controlled needle positioning and a few manual stitches when the model instructions allow. It is not a substitute for normal motor-driven sewing or a solution to a resistant mechanism.
Why do I overshoot corners?
You may be releasing the pedal only when the needle reaches the mark. Begin slowing earlier, learn the stopping distance on scrap and use the needle-position feature if your machine has one.
Sources
Brother's machine setup guide covers gentle pedal use and fabric feeding. The Brother SH40 product page lists its speed-control and start/stop features. Always follow your own manual for how the pedal, slider and button interact.