
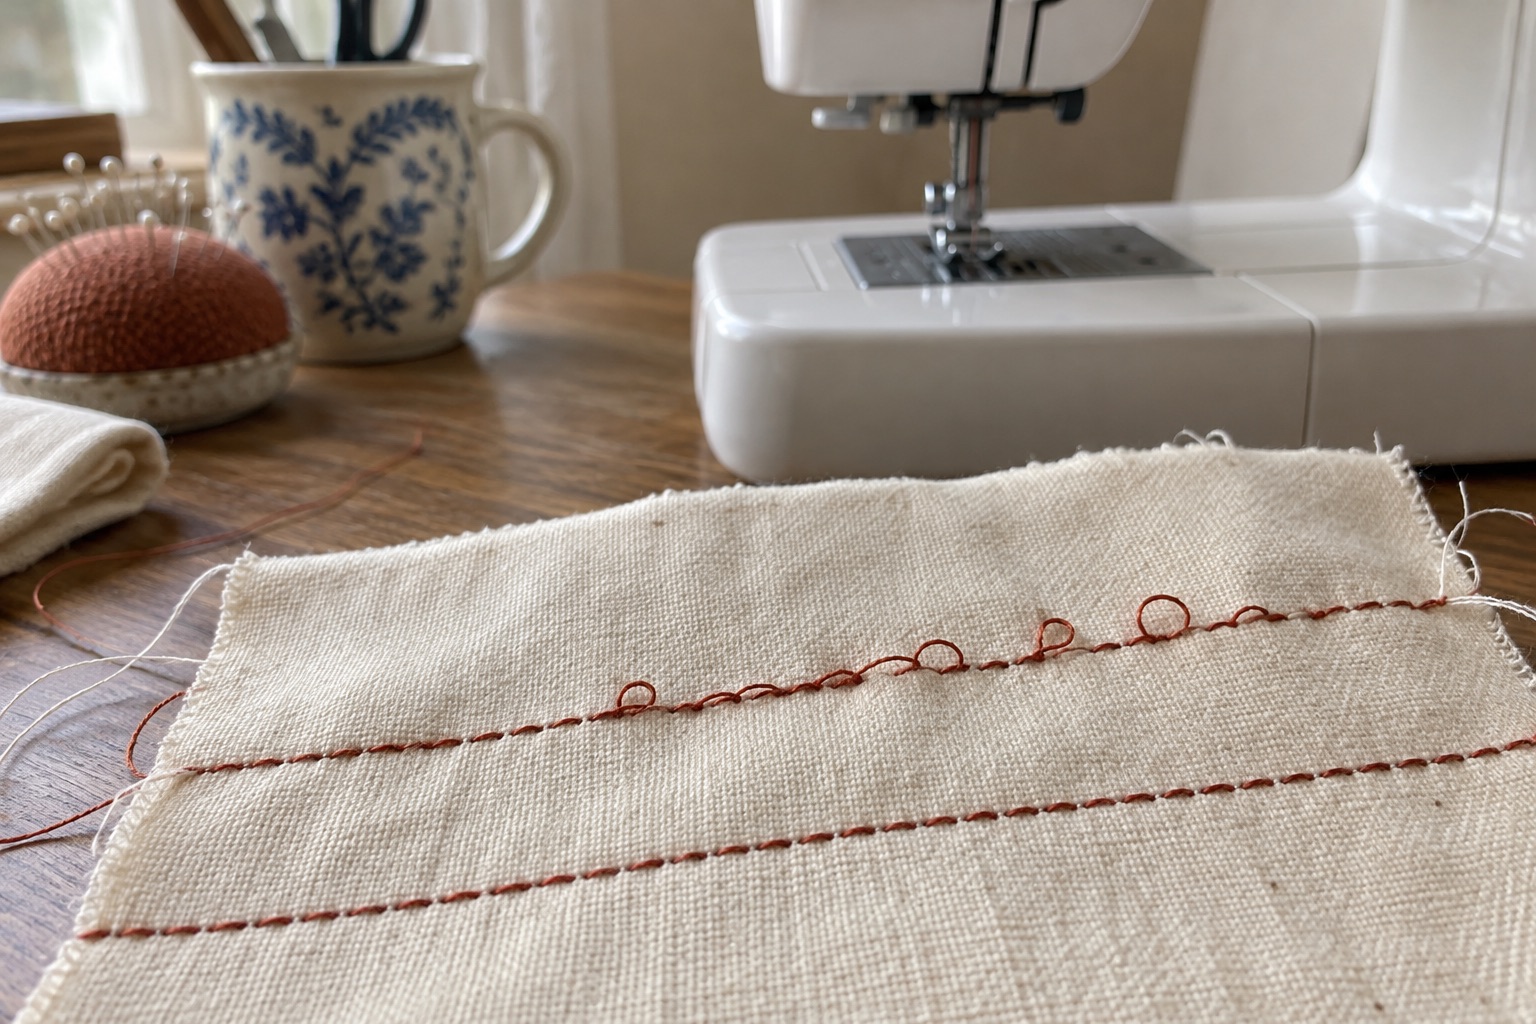
“Loose stitches” can describe two different things: a visible loop sitting on the fabric, or a straight line of one thread with the other colour pulled through it. On a normal lockstitch seam, upper and bobbin threads meet within the fabric. Look at both sides of a test seam before touching a dial. If the real symptom is a large nest underneath, start with thread bunching underneath instead; it has a different first check.
Which thread is being pulled to the top?
If you use a different colour in the bobbin for a short diagnostic sample, it becomes easier to see whether lower thread is appearing as dots or loops on the right side. That can mean upper tension is relatively high for the setup, but it can also mean the bobbin thread missed its own tension guide. Brother documents this specific case: lower thread not properly routed through the bobbin holder is pulled up, while changing the upper dial does not resolve the underlying error.
If the upper thread itself makes irregular loops on top, check whether the bobbin winds and releases smoothly, the upper path is complete and the fabric is feeding. A picture alone cannot assign the fault to one tension setting. Note whether the loops are present from the first stitch, only at the start or only over a bulky join.
Reset the paths before diagnosing tension
Switch off while accessing the needle and bobbin. Remove the bobbin and check its exact type, even winding and undamaged rim. In a top-loading holder, follow the cover's unwind arrow, slit and guide. In a front-loading case, draw the thread under its spring and seat the case fully. Do not assume the guide is engaged just because the bobbin is physically inside.
Next, remove the upper thread completely. Raise the presser foot and thread from spool to needle, including the take-up lever and final needle-bar guide. Fit a fresh needle if the point is dull or bent, matching the fabric and thread. Return the upper tension and stitch length to the usual starting settings in your manual. Do not turn a bobbin-case screw as a routine reset.
Make a test that answers one question
Sew a straight line on two layers of the same fabric, with the same thread, needle, foot and speed planned for the project. Inspect the top and bottom. If correcting the bobbin route makes the lower thread disappear from the top, leave tension alone. If the stitch remains consistently unbalanced after correct threading, follow the tension guide: note the original upper setting, make a small single-direction adjustment and sew another labelled line. Small differences over thick or highly elastic layers are not a reason to chase a perfect textbook photograph.
On fine fabric, puckering can coexist with an imbalance. If the seam gathers even when the threads lock neatly, move to seam-puckering diagnosis rather than endlessly tightening the dial.
When do loose top stitches need another look?
If a known-good bobbin, fresh suitable needle, complete threading and ordinary cotton sample still show severe looping at normal settings, stop. Inspect only accessible lint or thread as your manual allows. A damaged bobbin case, plate strike, grinding noise or resistant handwheel needs a dealer or technician. Taking a labelled top-and-bottom sample with you is more useful than reporting only that “the tension is wrong”.
Frequently asked questions
Does bobbin thread on top always mean upper tension is too high?
No. A lower thread that missed its bobbin-case or holder guide can be pulled to the top. Correct its route before adjusting upper tension.
Why does the dial make no difference?
The bobbin may be misthreaded or the upper thread may be outside its tension discs. Restore both paths first, then compare a new sample.
Is this the same as thread bunching underneath?
No. A nest beneath the fabric usually points first to a missed or loosely controlled upper path. Use the underside-nest guide for that symptom.
Sources
Brother's incorrect-thread-tension guidance distinguishes upper and lower misthreading by which thread appears on the opposite face. Its FS40s upper-thread-tightened example specifically shows bobbin misthreading pulling lower thread to the top. Use the exact model manual for the bobbin route.