
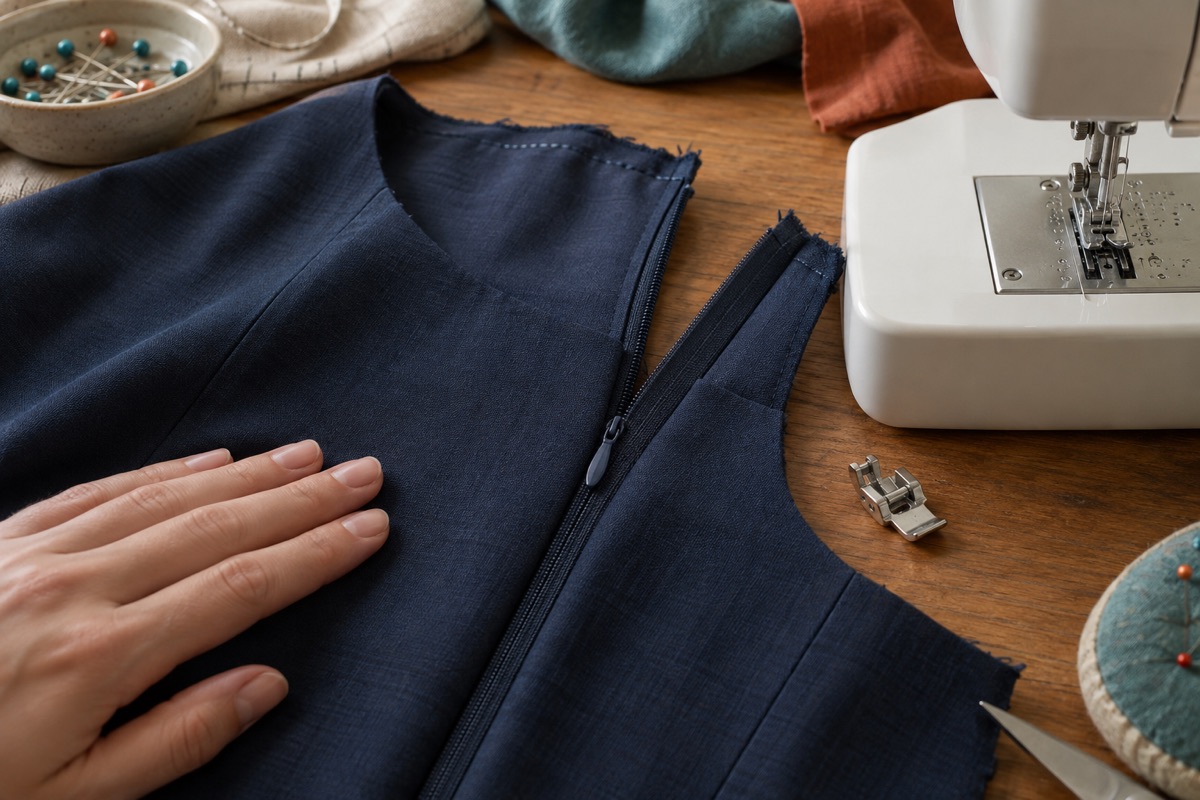
An invisible zip is sewn while it is open, with stitches placed close to the curled coil. The job is easier if the garment seam below the opening has not yet been closed. A regular zipper foot can sometimes get close, but a compatible concealed-zip foot has grooves intended to hold the coil out of the way. Check the exact part's machine compatibility; similar-looking feet can have different mounting and needle clearance.
Prepare and mark before the machine is running
Read the pattern's zip length, seam allowance and top-edge treatment. Finish the raw garment edges first if the pattern calls for it. On unstable or loosely woven cloth, a narrow strip of appropriate interfacing at the seam allowance can prevent the opening stretching; test it on a scrap so it does not show through. Mark the end of the opening and any waist or design seams on both garment pieces and both tapes. A longer zip can be easier to handle, but do not cut through a stop or teeth unless the zip maker's instructions give a safe method.
Pressing the coil gently away from the tape can help expose the stitch line, but follow the zip maker's heat guidance and keep a hot iron away from heat-sensitive teeth. Change the foot with the machine off. Select the straight stitch and needle position specified for that foot, then hand-turn the wheel to check clearance.
Sew the first tape
Open the zip fully. Place one tape right side against the right side of the garment, with the coil facing away from the raw fabric edge and the tape aligned to the pattern's stitching line. Pin or baste it without stretching the seam. Put the coil into the appropriate groove of the foot, lower the foot and sew from the top towards the marked end. Do not sew through the slider or force the foot across the zip stop. Secure the stitches as your pattern instructs.
Match the garment before committing
Close the zip temporarily and transfer the position of any horizontal seam or motif to the unsewn tape. Open it again, place the second tape against the opposite garment edge and align the marks before basting. Sew from the top in the second groove. Close the zip and check that the top edges and cross seams meet. If they do not, unpick the second tape and realign it; pulling one garment edge to make it meet will distort the finished opening.
Close the seam below the stop
Turn the garment wrong side out. Move the loose tail of the zip out of the seam path. With a standard zipper foot if needed for clearance, sew the remainder of the garment seam up to the end of the zip stitching without crossing the teeth. Press the seam carefully. If a small gap appears below the opening, stitch a little closer to the previous seam end. If the coil remains visible, the needle may have sat too far from it; check foot position on a scrap before restitching. If the opening ripples, review stabilising, pressing and whether either side was stretched.
For an ordinary exposed or centred zip, use the broader zipper-foot guide instead; its fitting sequence is different. There is no product recommendation here because a concealed-zip foot must be selected for the exact machine, not by a generic shape alone.
Frequently asked questions
Should I sew the seam below the zip first?
Many garment patterns have you insert the open invisible zip first, then join the seam below. Follow the pattern's construction order where it differs, especially at a lining or shaped waist.
Why can I see the zip teeth?
The stitching may be too far from the coil, or the coil was not held in the foot groove. Check that the zip is not twisted and test the foot on spare fabric before altering the garment.
Sources
The insertion sequence and foot placement follow Brother's concealed-zip-foot tutorial and Janome's aligned-seam tutorial. Use the instructions for your particular zip, pattern and foot where they differ.